Hummer Forums by Elcova  
Forums - Home
Source Decals

Source Motors
Custom. Accessories.

H2 Accessories
H3 Accessories
Other Vehicles

H2 Source

H2 Member Photos
H2 Owners Map
H2 Classifieds
H2 Photo Gallery
SUT Photo Gallery
H2 Details

H2 Club

Chapters
Application

H3 Source

H3 Member Photos
H3 Classifieds
H3 Photo Gallery
H3 Owners Map
H3 Details
H3T Concept

H1 Source

H1 Member Photos
H1 Classifieds
H1 Photo Gallery
H1 Details

General Info

Hummer Dealers
Contact
Advertise

Sponsored Ads


Source Motors - custom. accessories.


Go Back   Hummer Forums by Elcova > Hummer H2 Discussion Forums > Photos of YOUR H2

Reply
 
Thread Tools Search this Thread Display Modes
  #1  
Old 02-20-2013, 02:13 AM
LoJac963's Avatar
LoJac963 LoJac963 is offline
Hummer Expert
 
Join Date: Sep 2011
Location: Surprise, AZ
Posts: 717
LoJac963 is on a distinguished road
Default LoJac963's Deuce Build

Figured I'd post my build thread over here since the H2 members seemed to have died off at the other forum I frequent....

enjoy

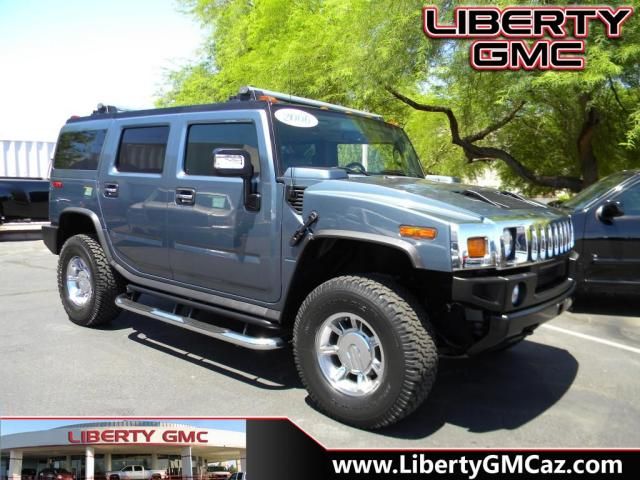
This is how she sat at the dealership the night I went to test drive. Bought the 2 that night after a long debate at the dealership regarding the trade in of my 06 GTO.


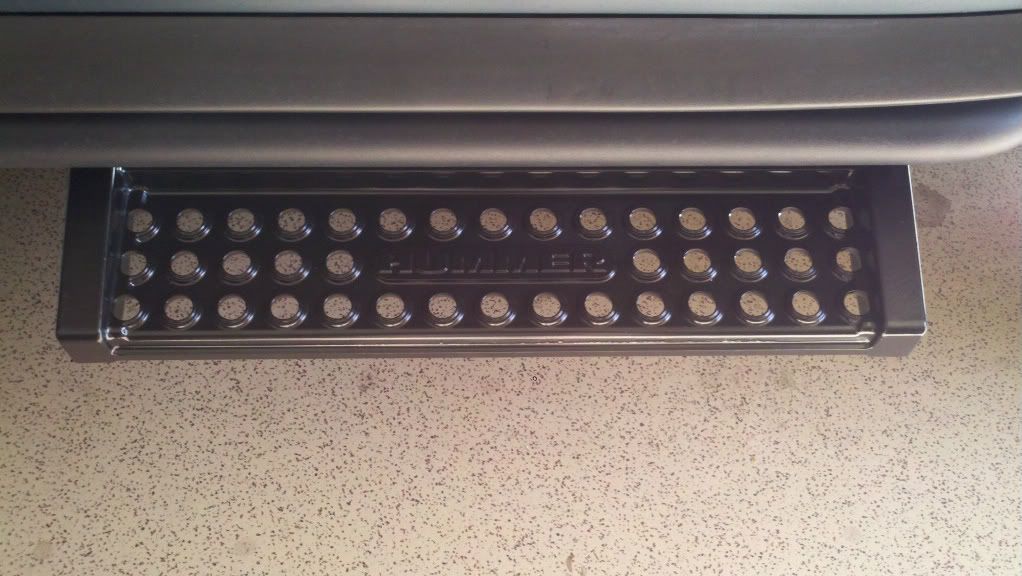
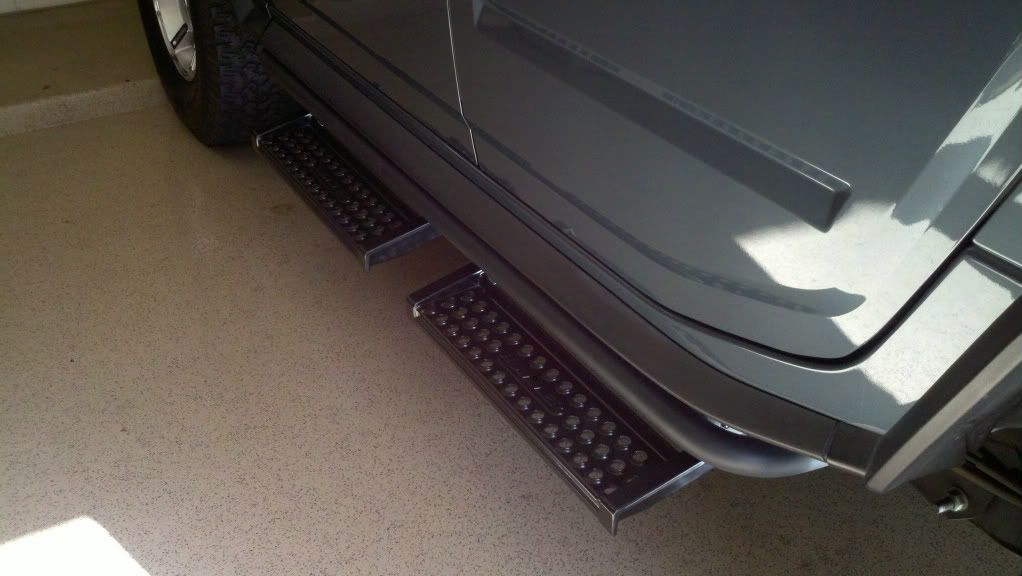
First thing I couldn't stand were the gigantic chrome nerf bars. Did some research on options and fell in love with the U-steps. Finally found a set for a great price. They were pretty beat up so I had them chemically stripped and PC'ed. Insanely better than those huge chrome nerfs.


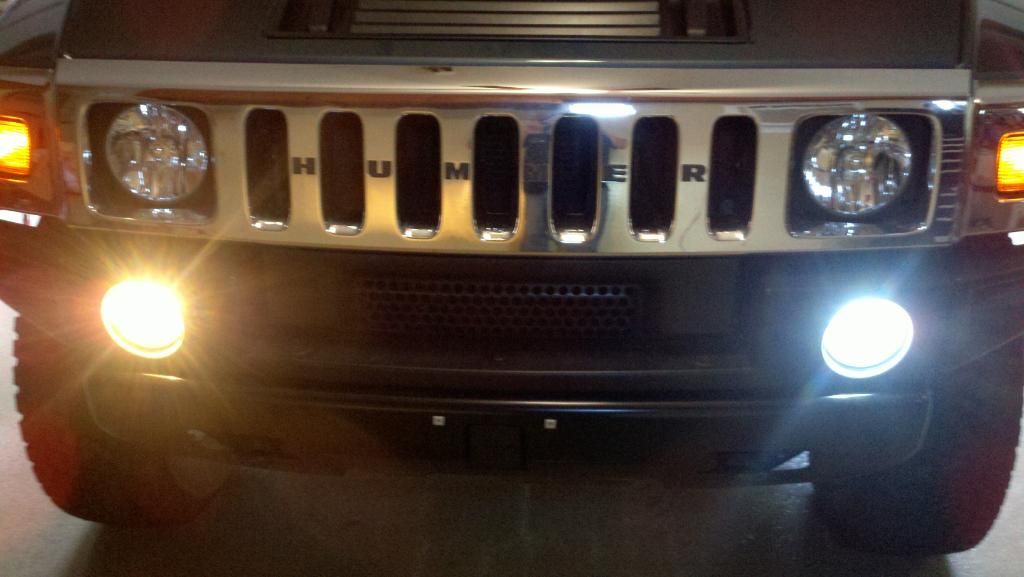
Next was the DRL's change to LED's. The SMD's are quite a bit brighter than the stock bulbs and look a hell of a lot better.


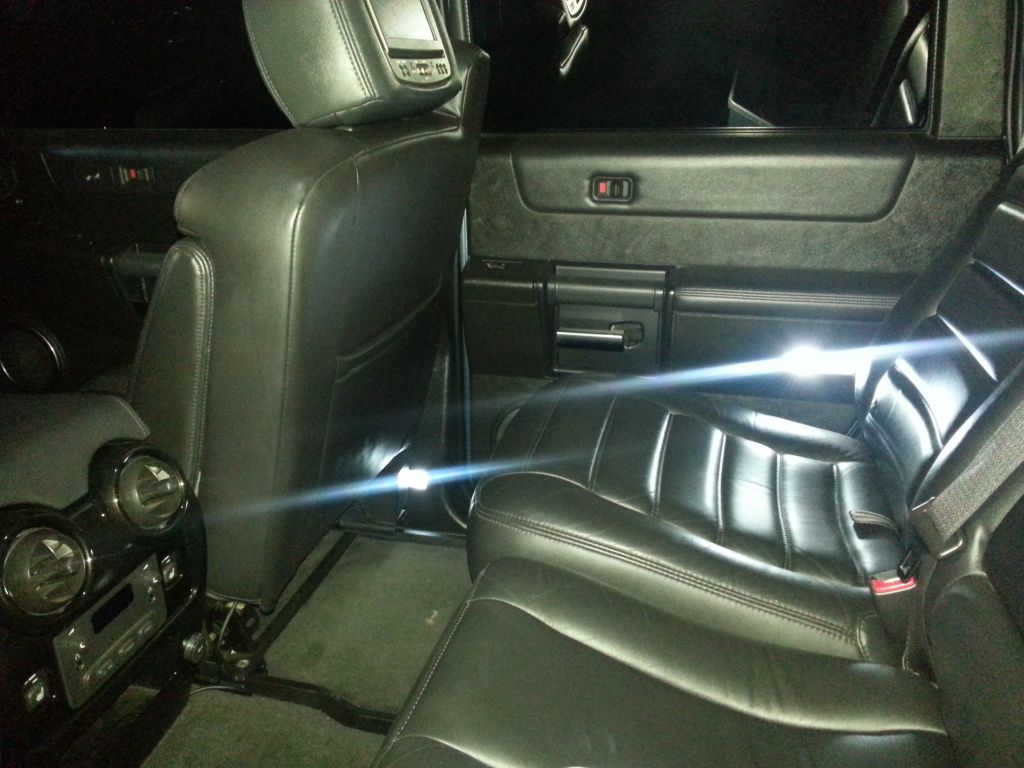
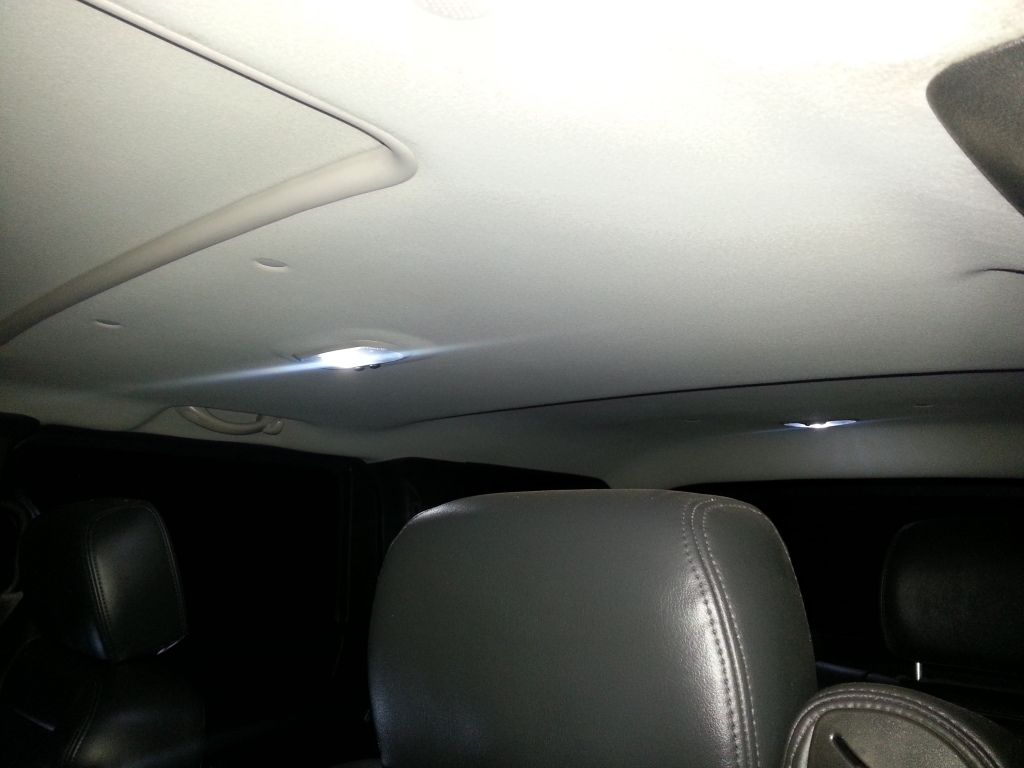
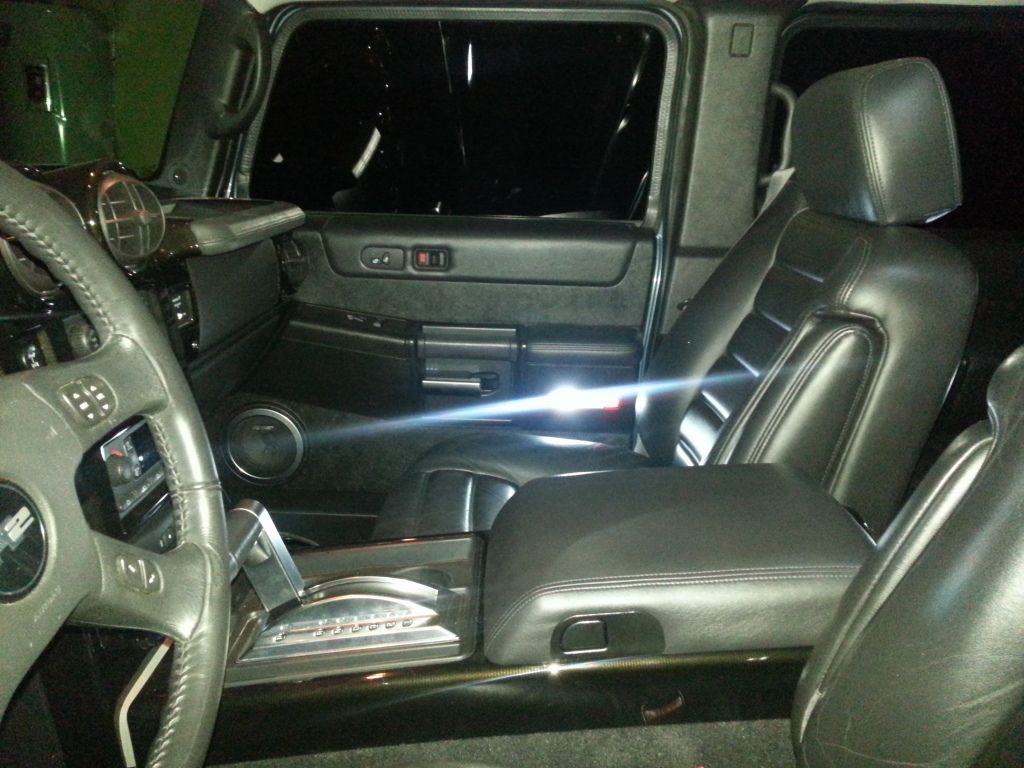
Something I've always done is change over the interior to LED. Much brighter, crisper light.


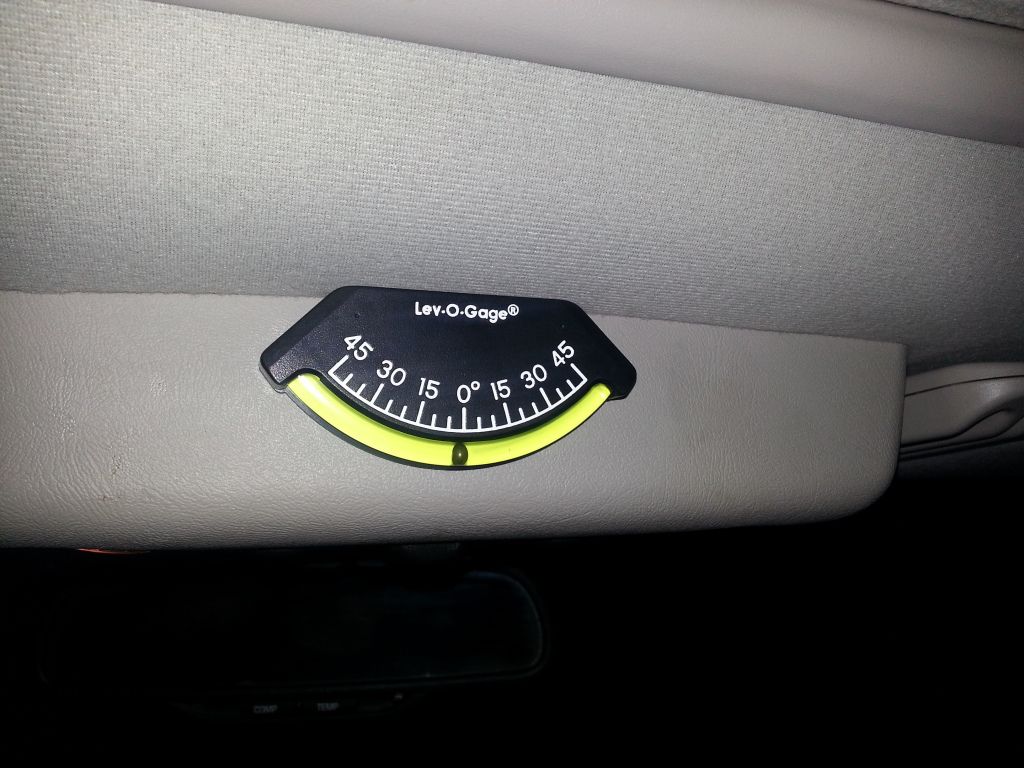
After that I put in a Lev-o-Gage just for fun.


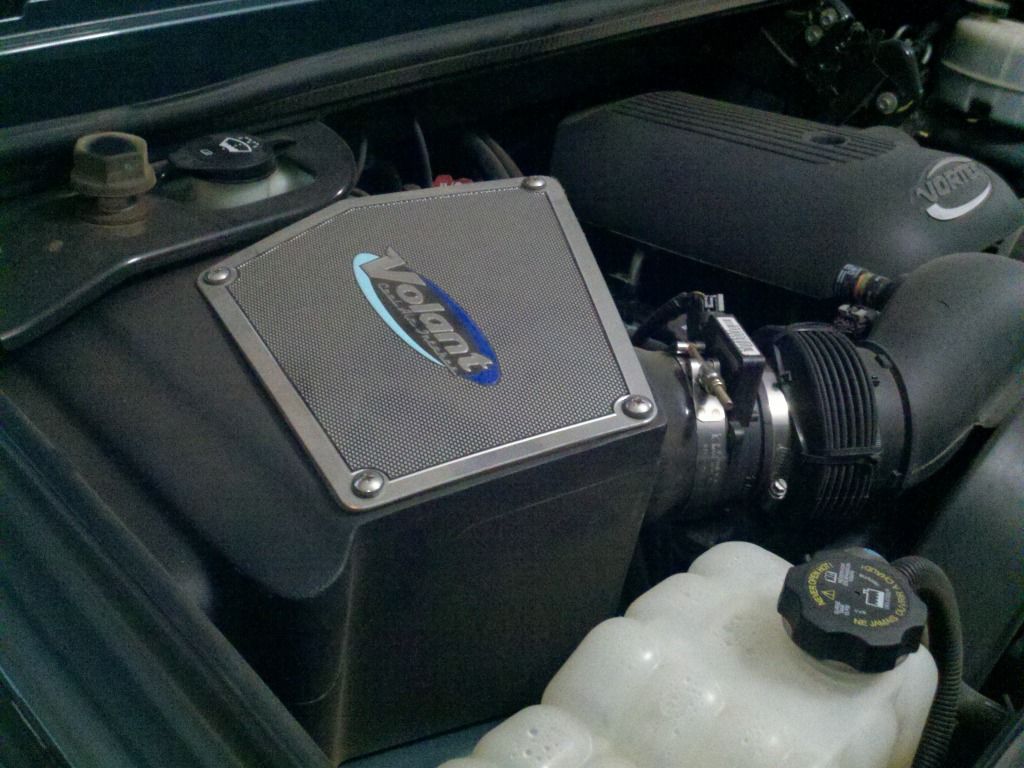
Next on the list was a Volant air box. I couldn't stand how much of a PITA it was to take the stock lid off so I opted for a Volant.


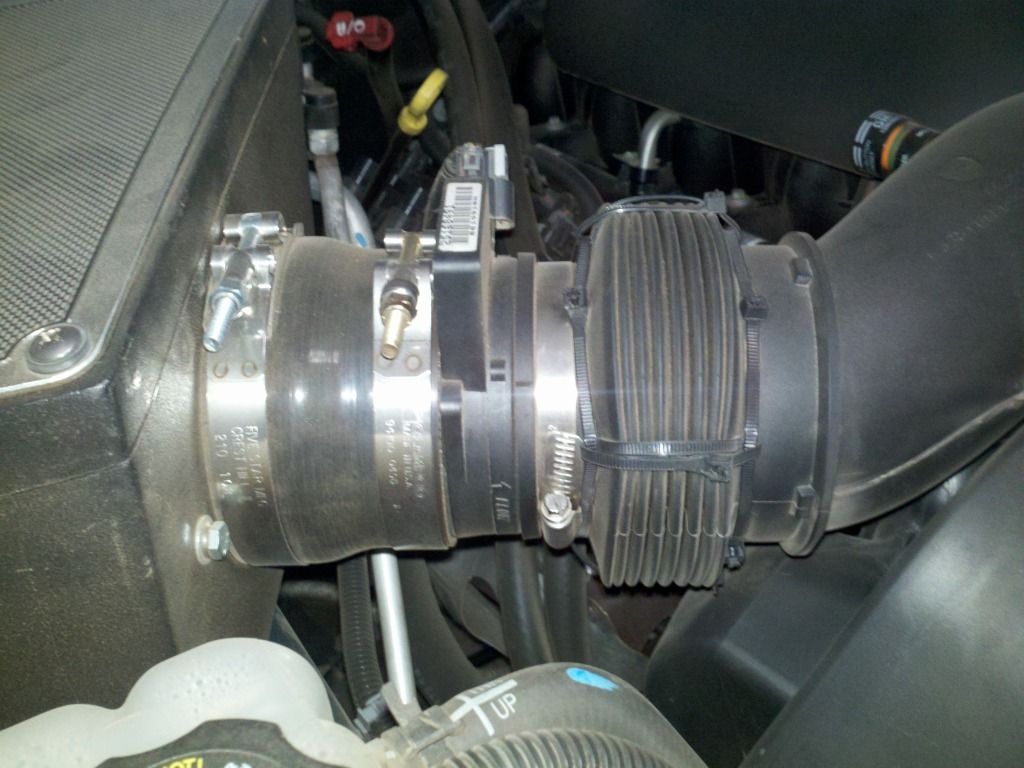
Pic of the silicone coupers and t-bolt clamps I used. The Volant adapter included is worthless.
Reply With Quote
  #2  
Old 02-20-2013, 02:16 AM
LoJac963's Avatar
LoJac963 LoJac963 is offline
Hummer Expert
 
Join Date: Sep 2011
Location: Surprise, AZ
Posts: 717
LoJac963 is on a distinguished road
Default Re: LoJac963's Deuce Build

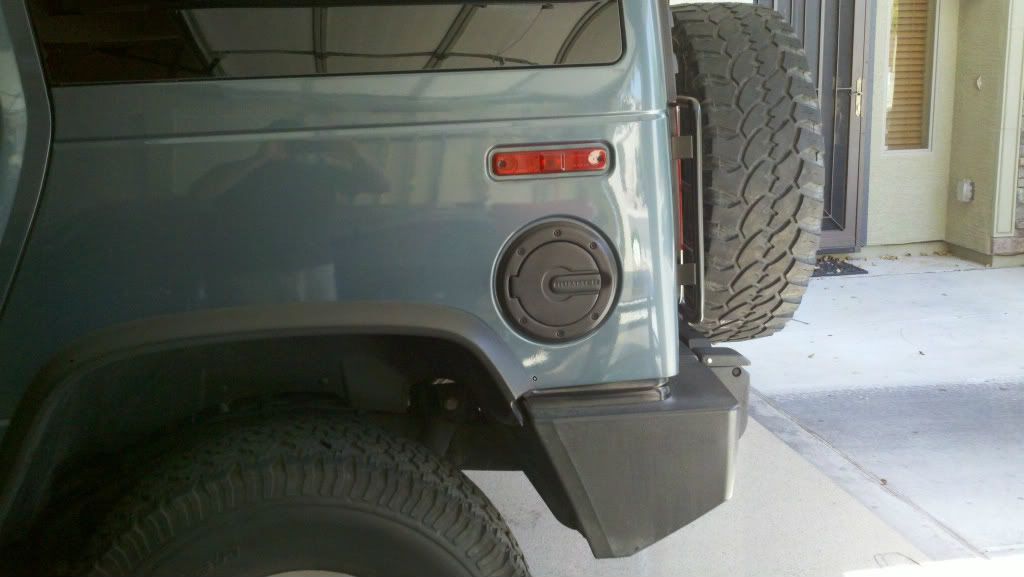
Next I decided to play with Plasti-Dip. Sprayed the chrome stock fuel door.


After doing the fuel door I figured I might as well do the rims also. Get rid of all that chrome in one go!
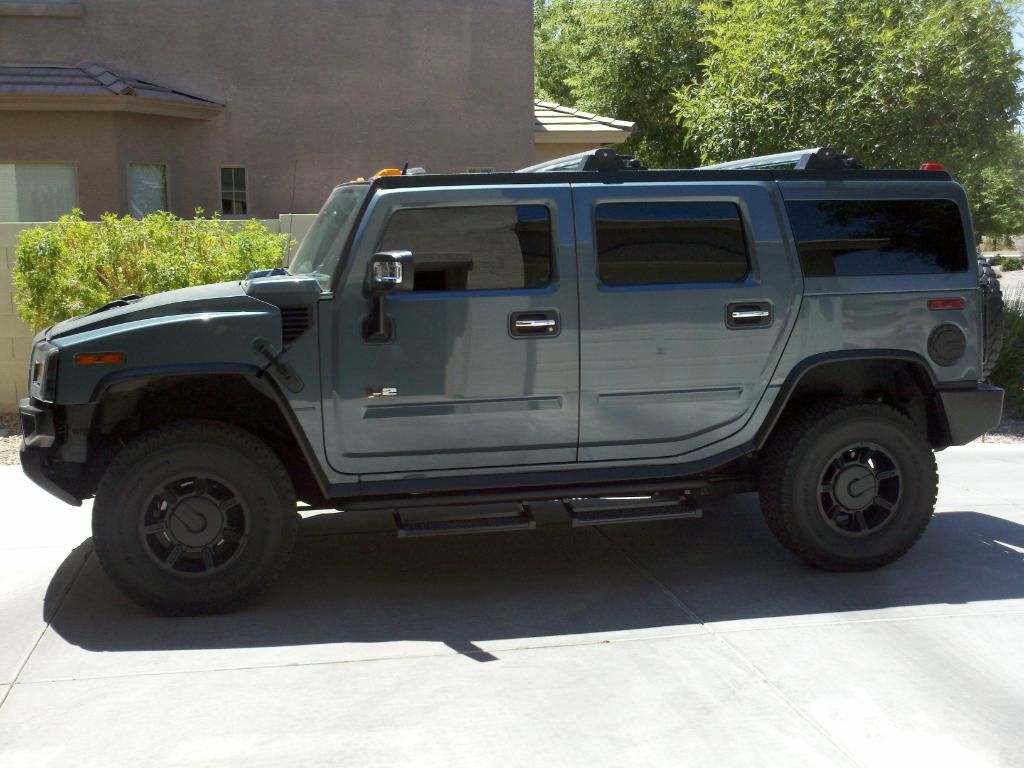


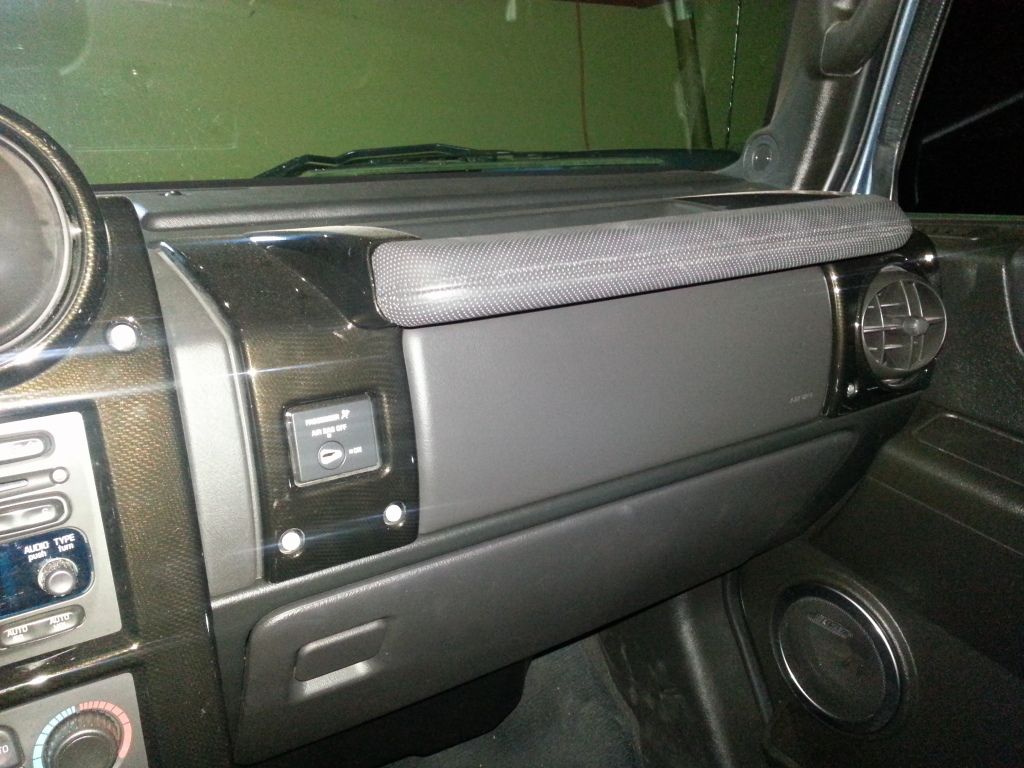
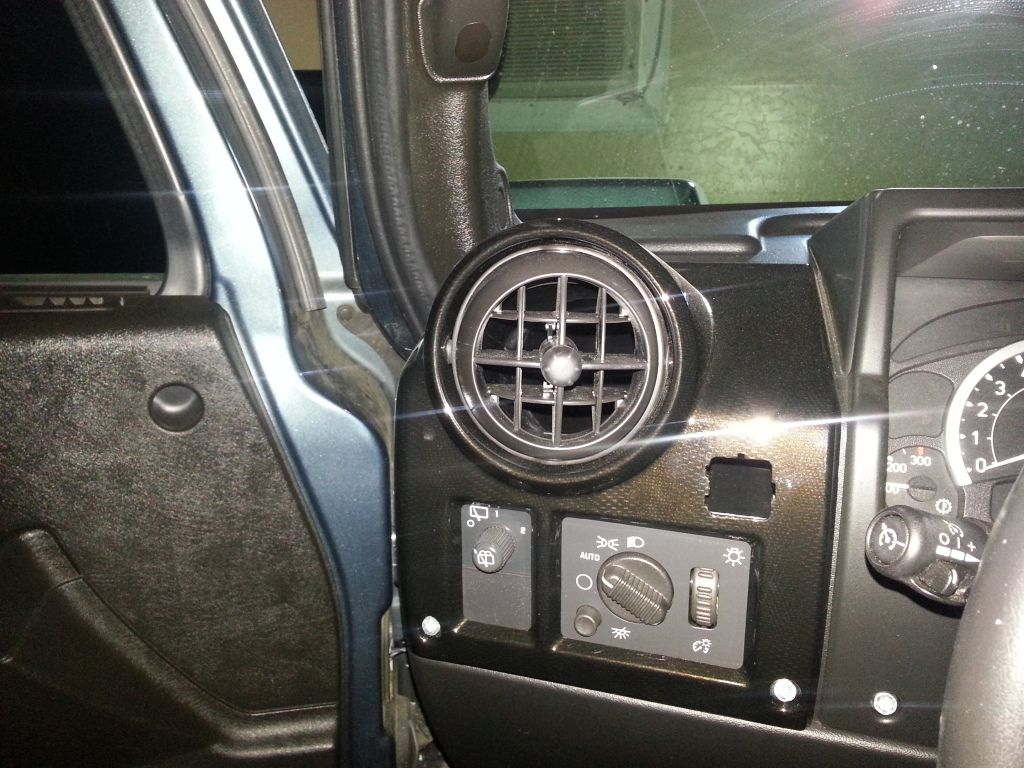
Next I put in the CF look dash pieces.
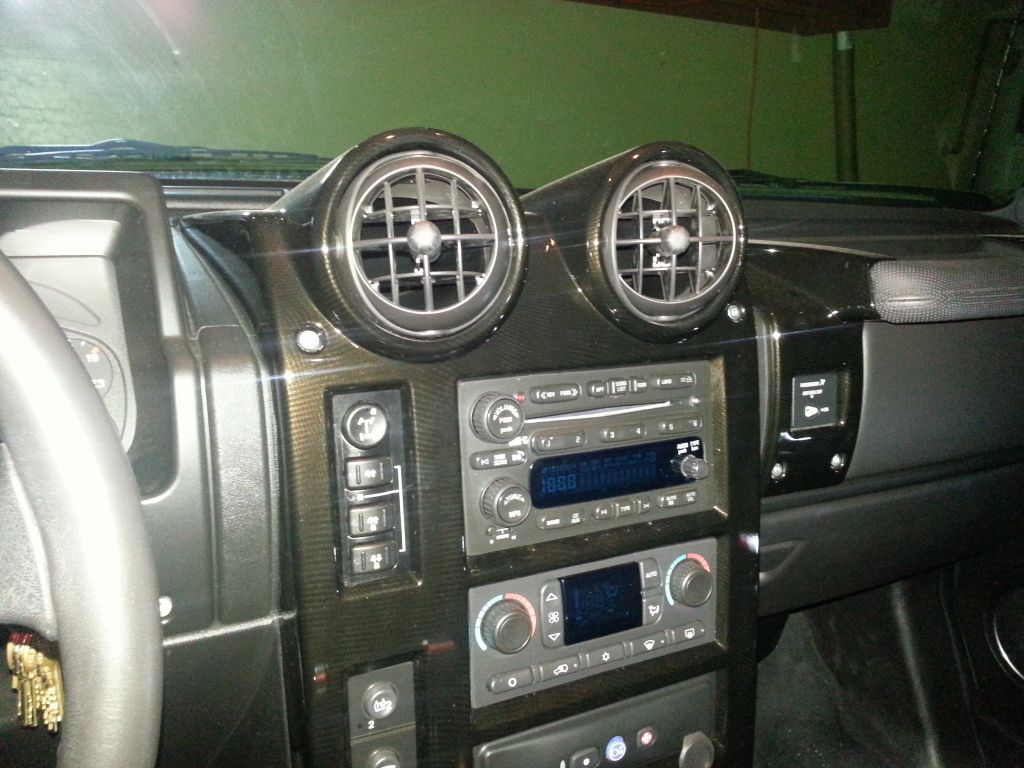


Up next......the roof rack
Reply With Quote
  #3  
Old 02-20-2013, 02:21 AM
LoJac963's Avatar
LoJac963 LoJac963 is offline
Hummer Expert
 
Join Date: Sep 2011
Location: Surprise, AZ
Posts: 717
LoJac963 is on a distinguished road
Default Re: LoJac963's Deuce Build

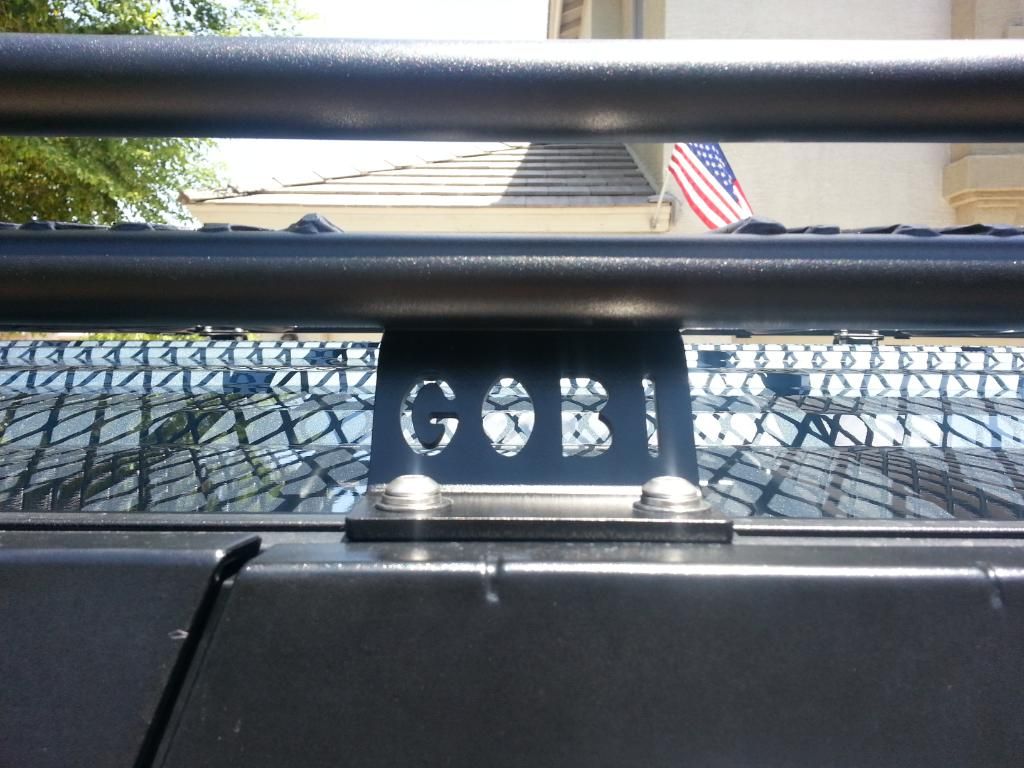
Picked up a Gobi Stealth for $850 shipped brand new. Install was interesting getting the gigantic thing on top of the truck.


Here are the 2 rear lights installed
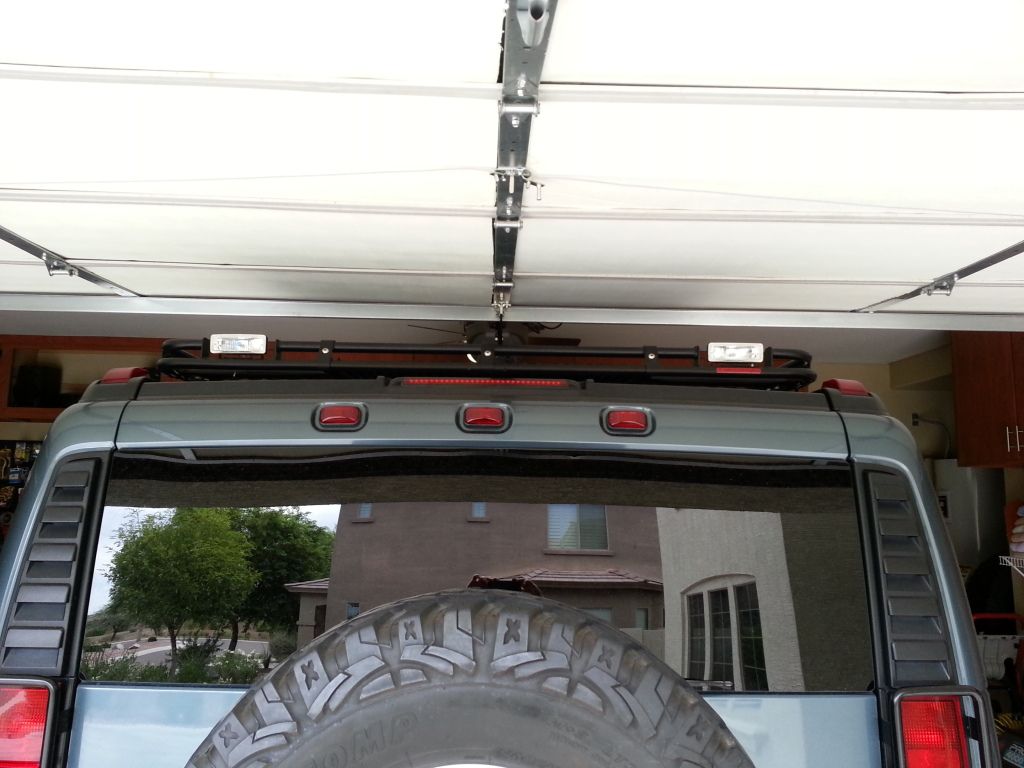


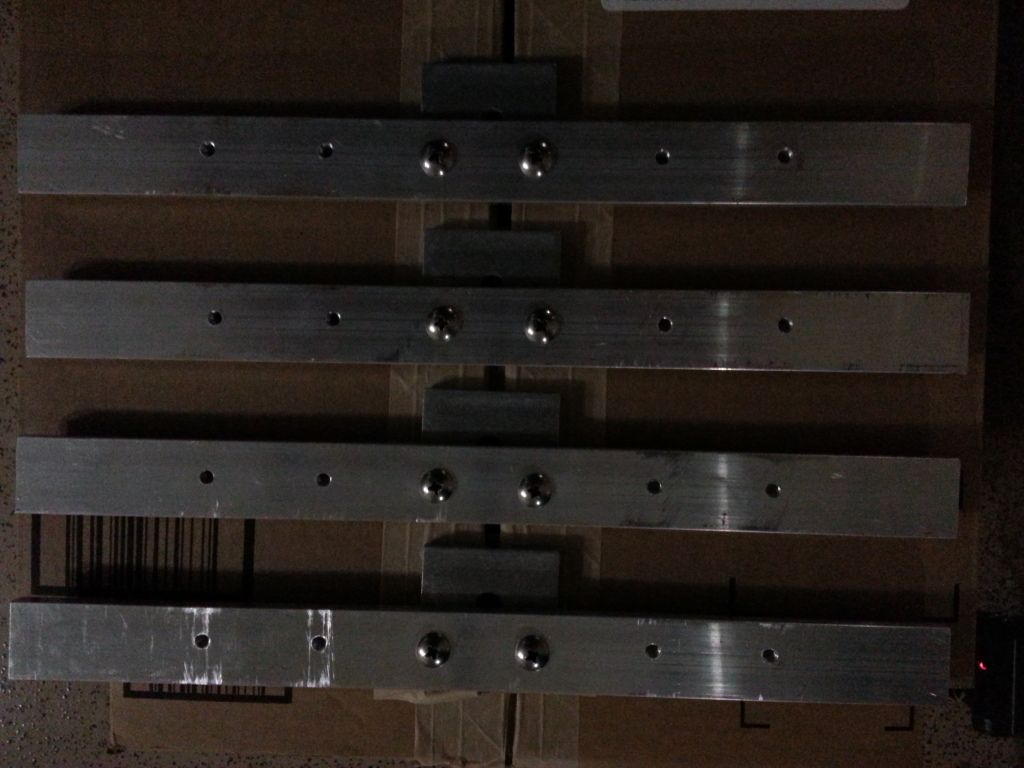
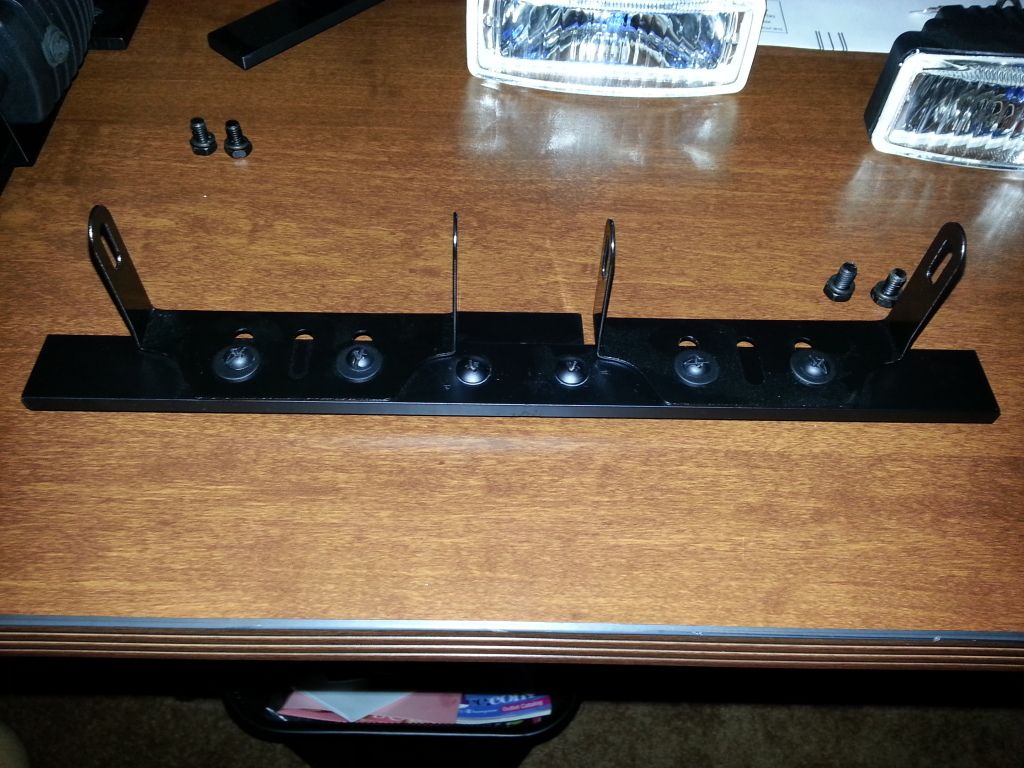
Now onto the bigger project. I didn't like the idea of only 1 light in each section on the front of the rack so I opted to make my own double light brackets.

Started with a 1" x 4' piece of aluminum stock
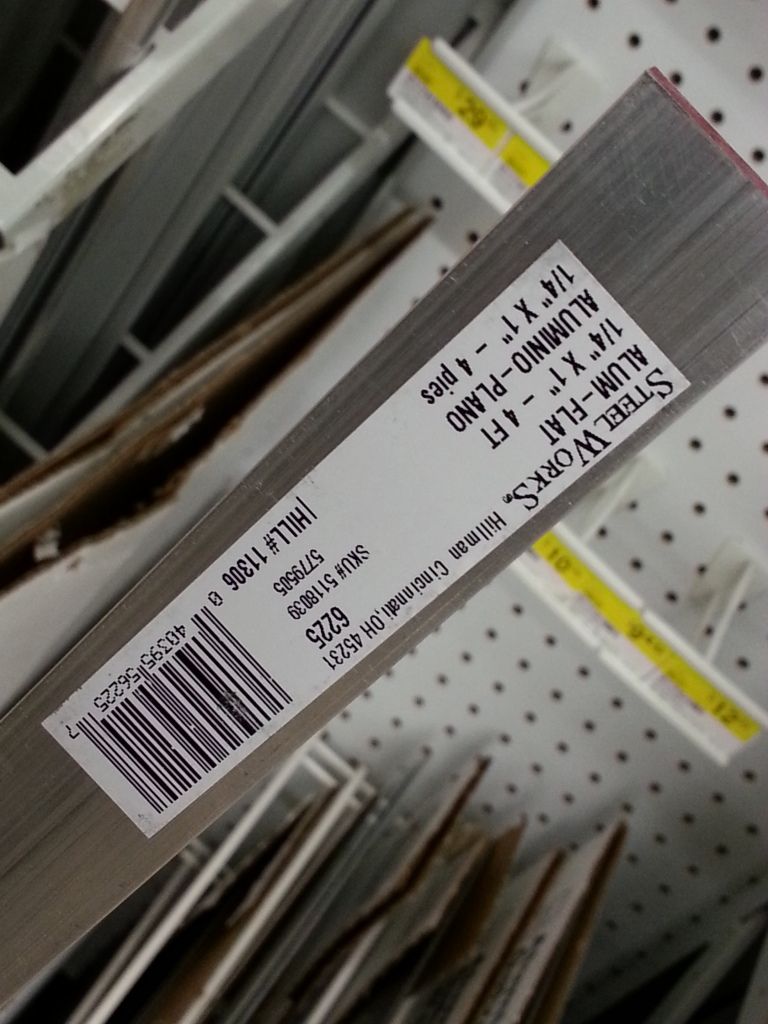


Cut that down into 12" sections
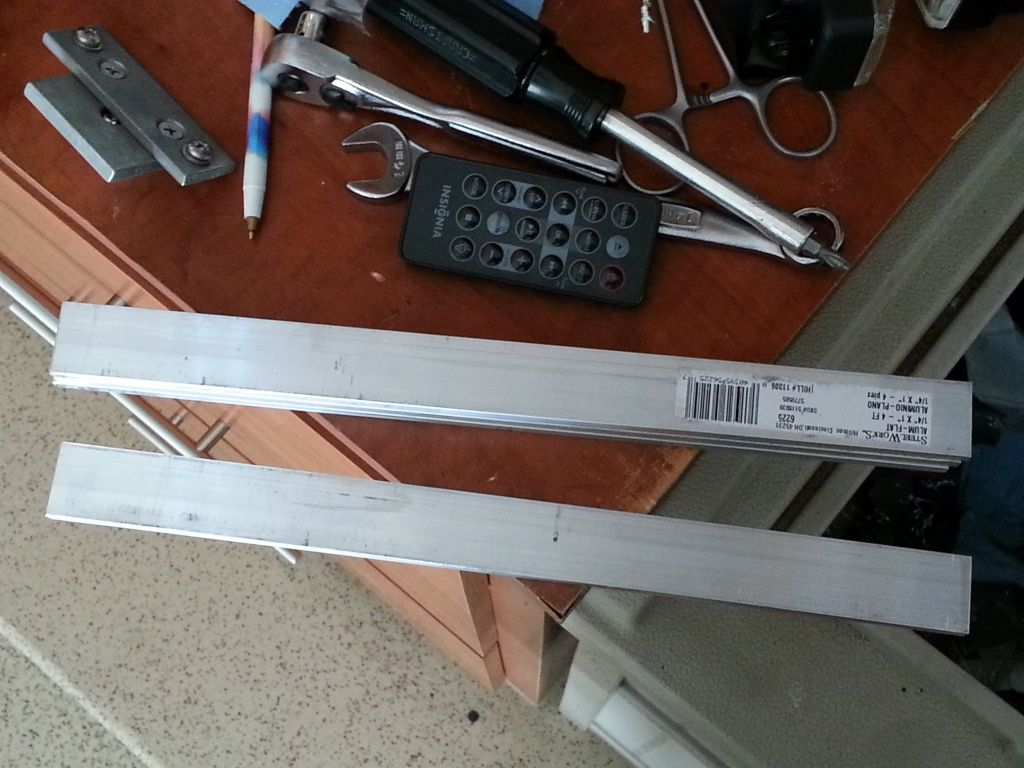


After quite a bit of cutting, filing, drilling and threading we went from this
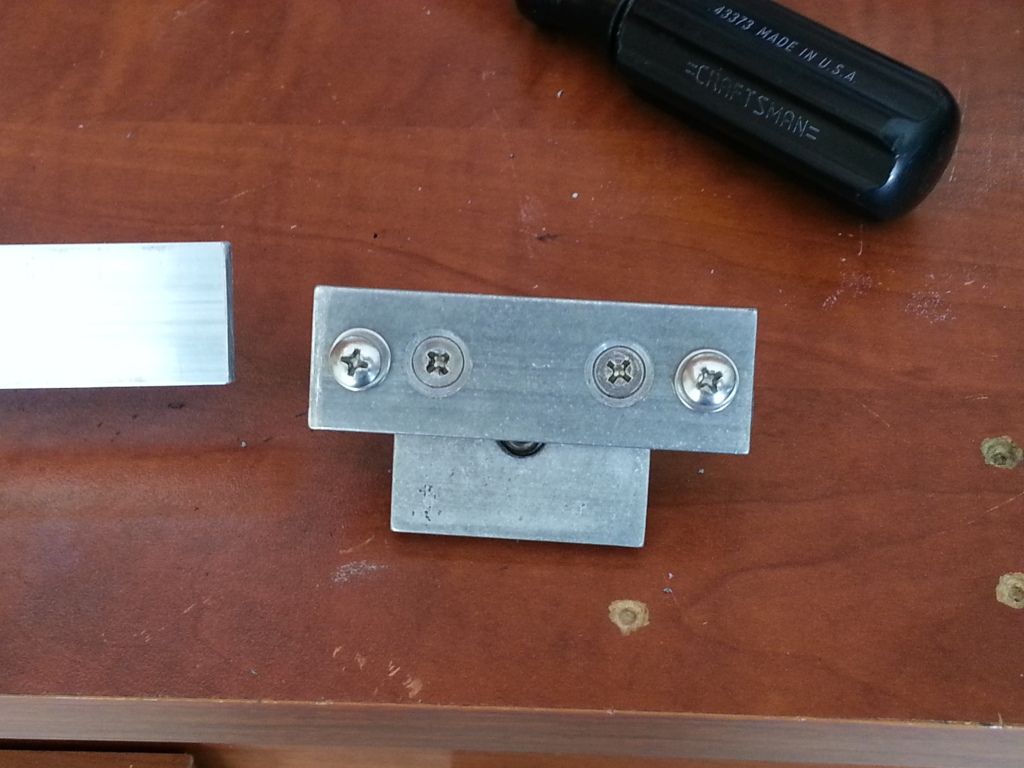


To this


Here is one of the brackets painted and ready for the rack.
Reply With Quote
  #4  
Old 02-20-2013, 02:21 AM
LoJac963's Avatar
LoJac963 LoJac963 is offline
Hummer Expert
 
Join Date: Sep 2011
Location: Surprise, AZ
Posts: 717
LoJac963 is on a distinguished road
Default Re: LoJac963's Deuce Build

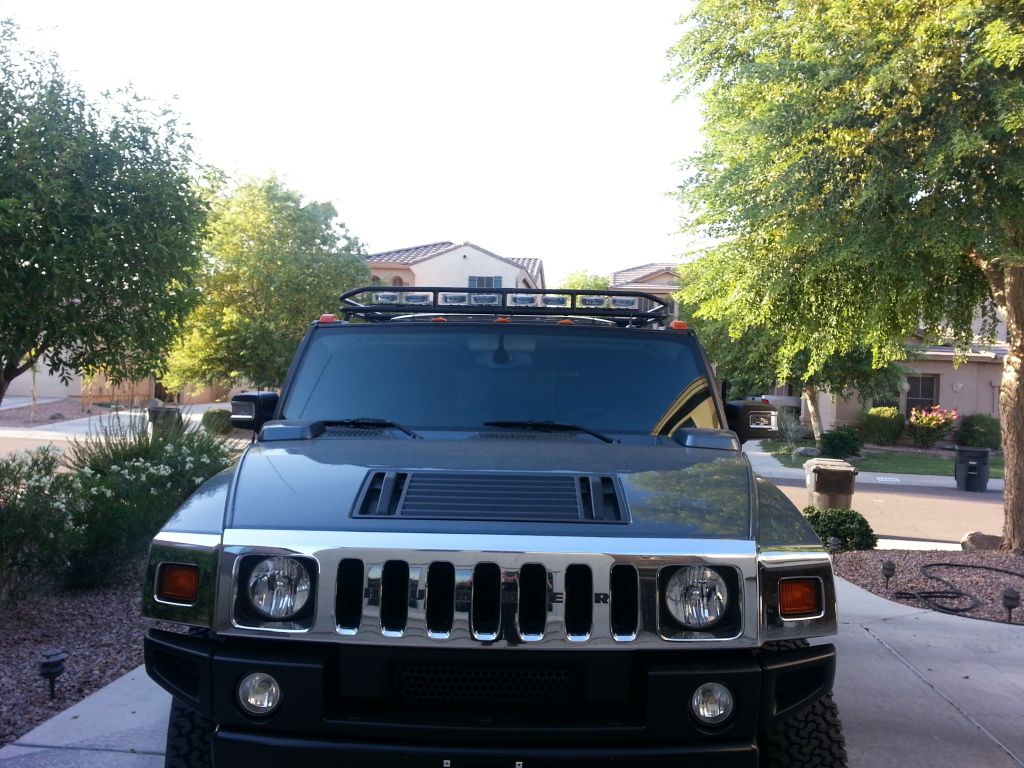
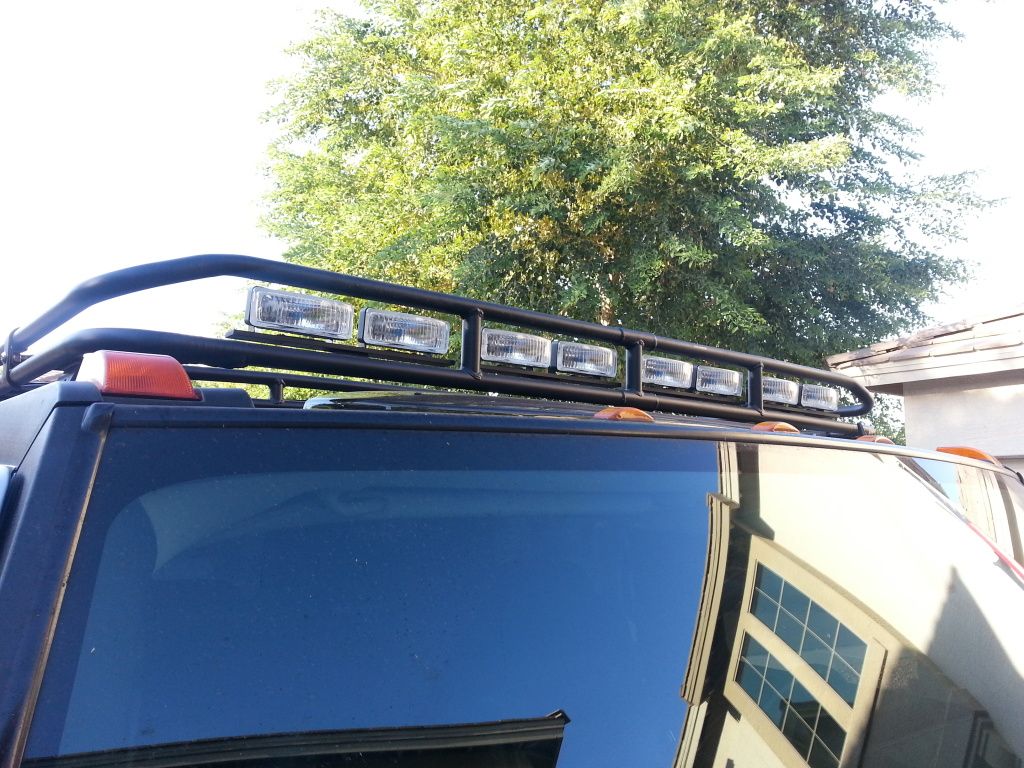
This is the final product with all the lights on the rack


Stay tuned, definitely more to come hopefully soon!
Reply With Quote
  #5  
Old 02-20-2013, 02:23 AM
LoJac963's Avatar
LoJac963 LoJac963 is offline
Hummer Expert
 
Join Date: Sep 2011
Location: Surprise, AZ
Posts: 717
LoJac963 is on a distinguished road
Default Re: LoJac963's Deuce Build

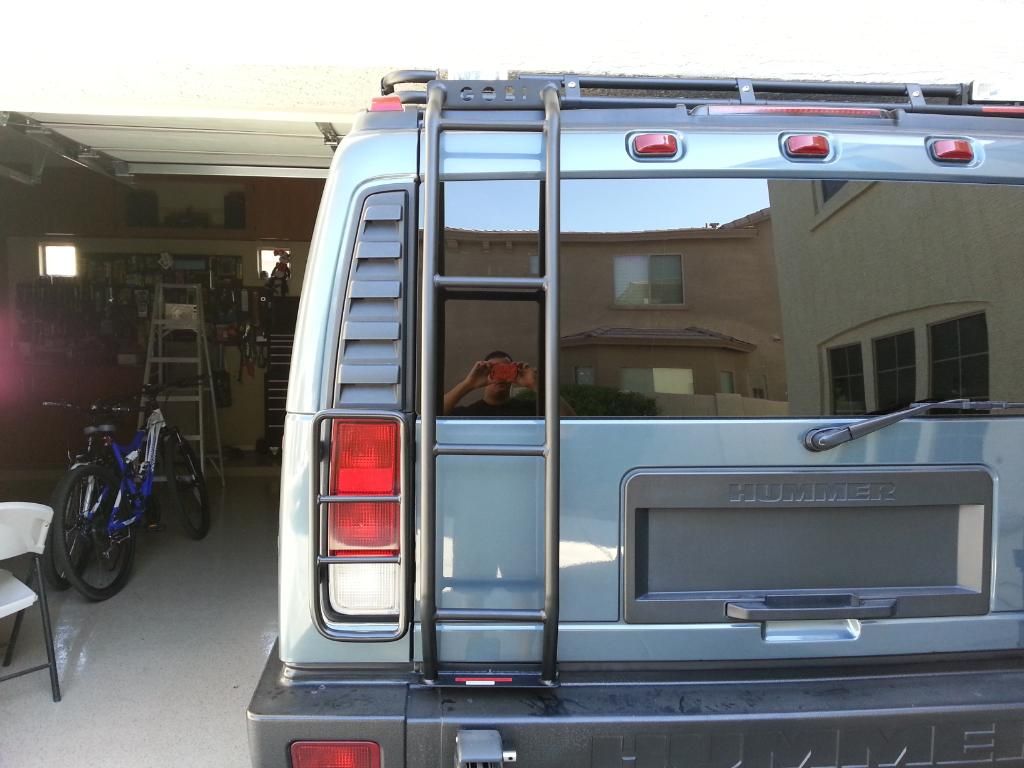
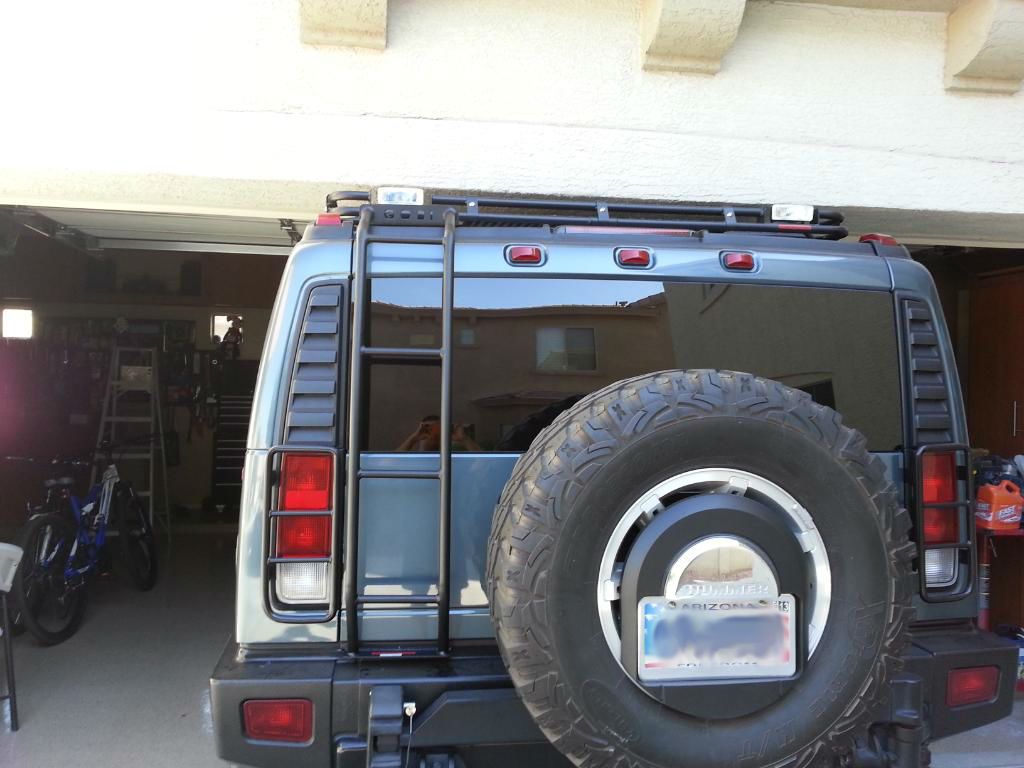
Small update, finally ordered and received my Gobi ladder. Went with the driver side but now I'm thinking one on the passenger would look good too. I didn't drill the hole the instructions say to, just used the factory hole with the included bolts and the set screws on the bottom.


Reply With Quote
  #6  
Old 02-20-2013, 02:28 AM
LoJac963's Avatar
LoJac963 LoJac963 is offline
Hummer Expert
 
Join Date: Sep 2011
Location: Surprise, AZ
Posts: 717
LoJac963 is on a distinguished road
Default Re: LoJac963's Deuce Build

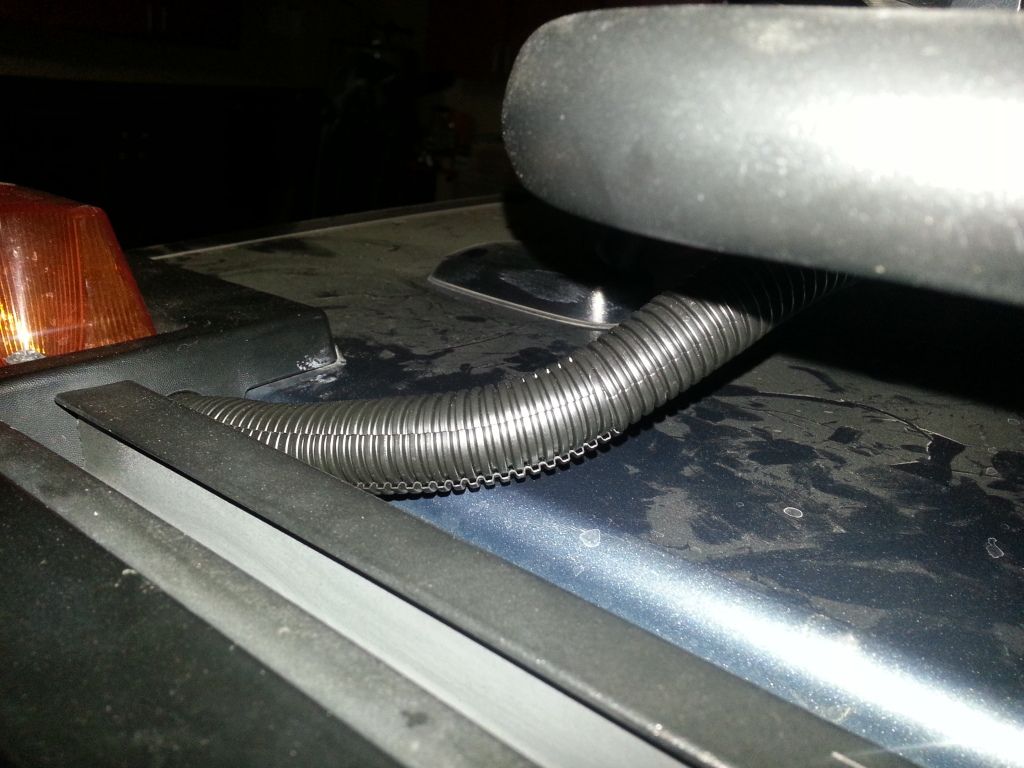
Also finished wiring up all the roof lights, one hell of a project.

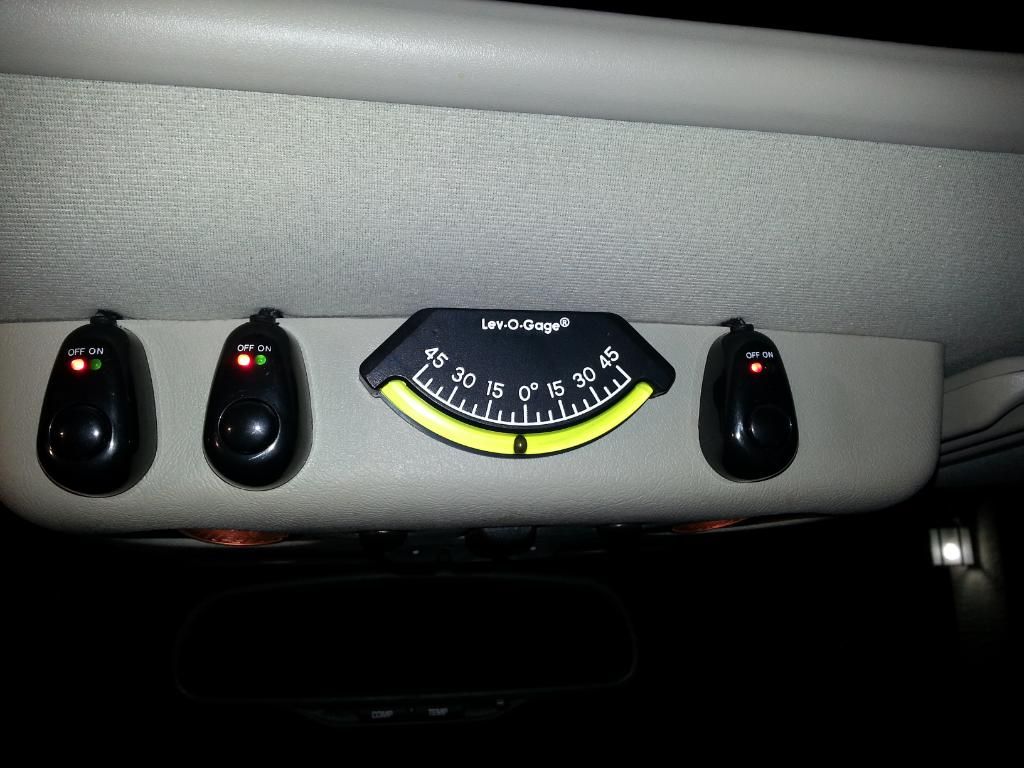
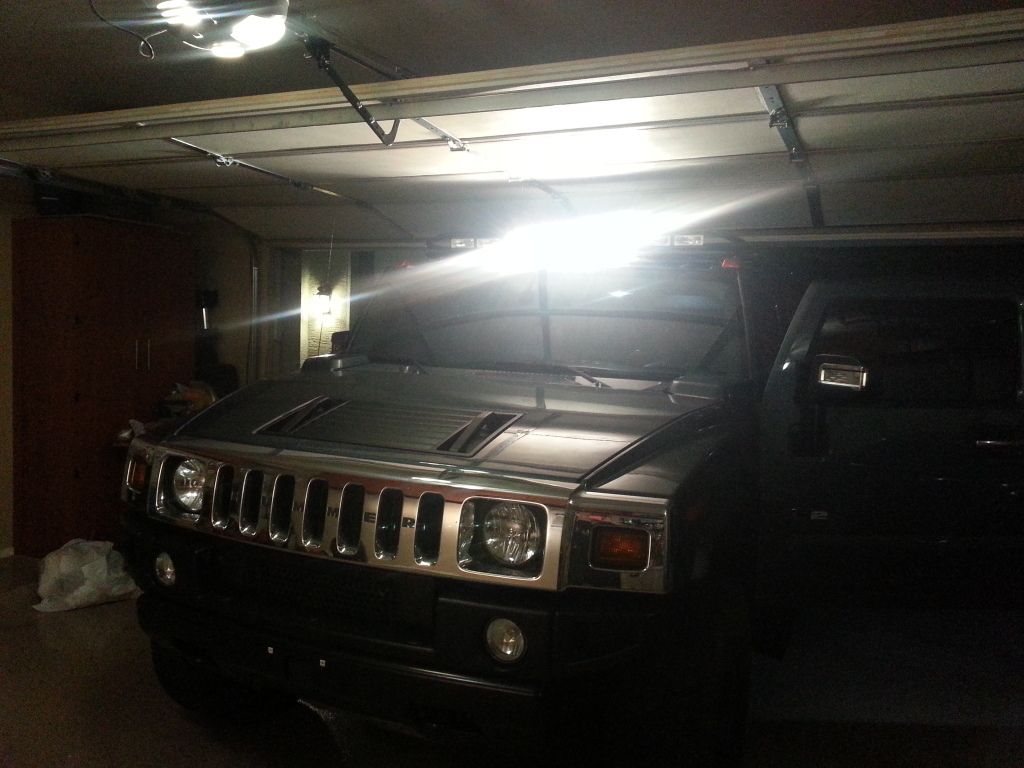
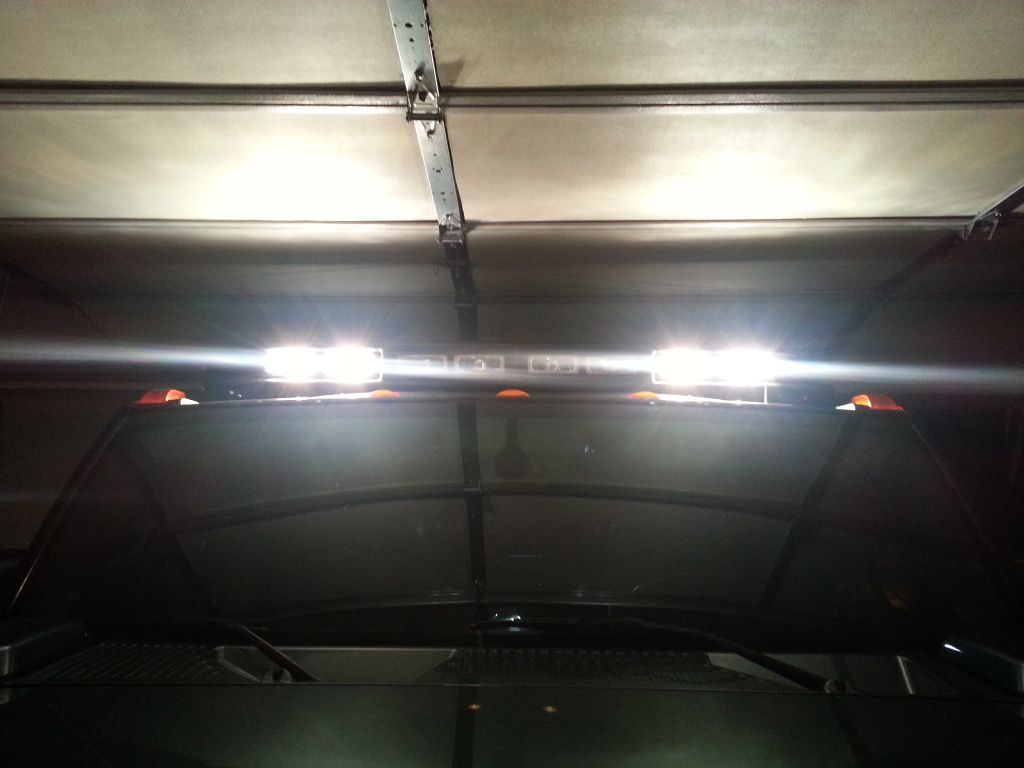
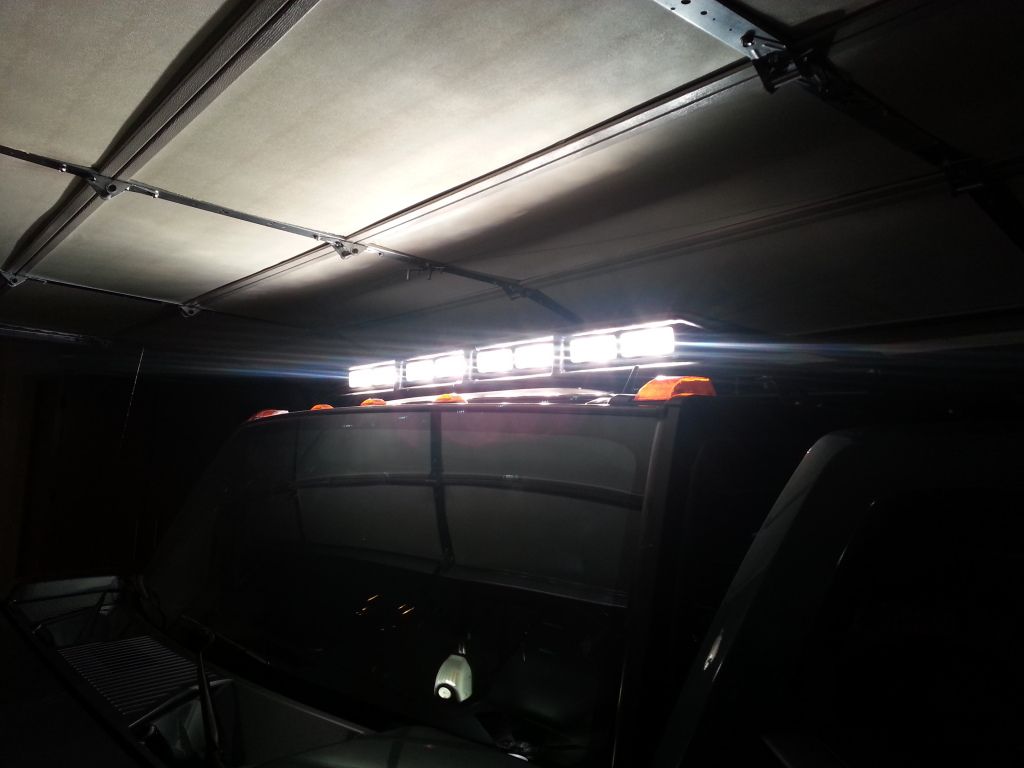
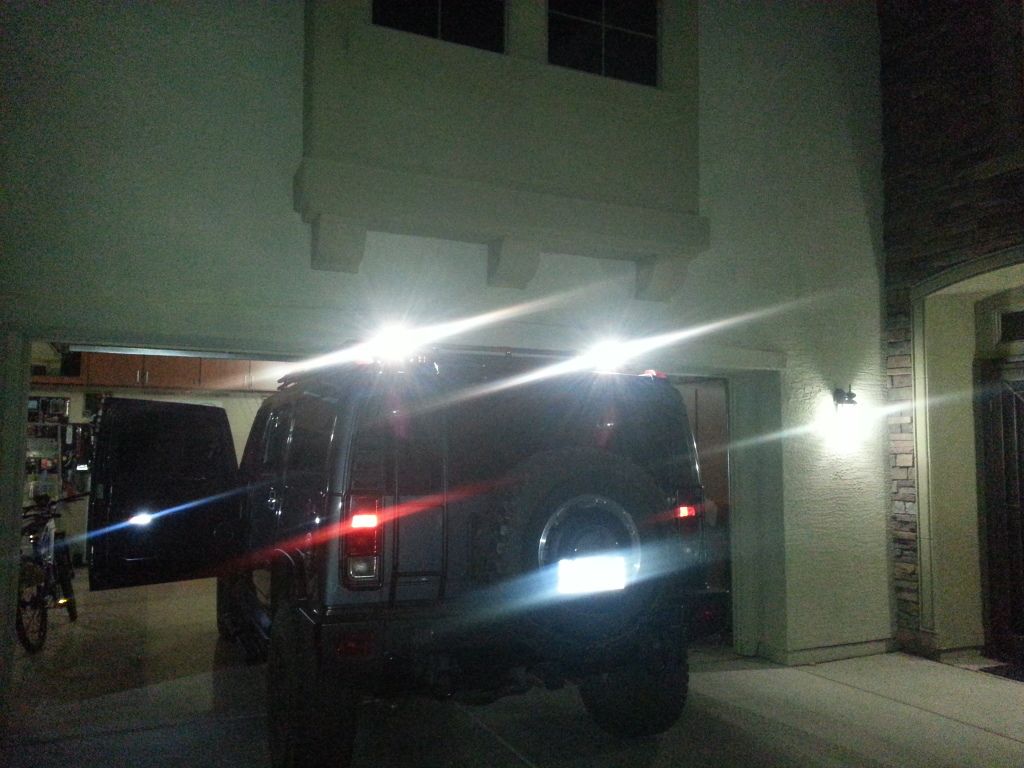
One switch runs the center 4 lights, one switch runs the outside 4 lights and the far switch runs the 2 rear lights.

Switches


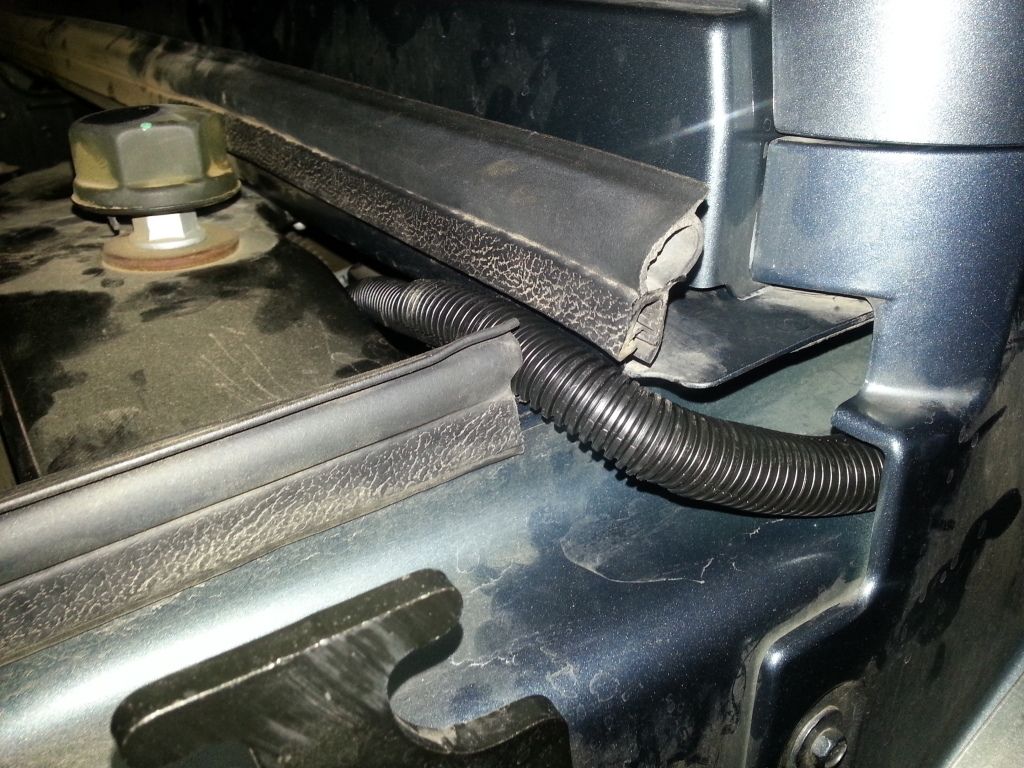
Pics of the wiring for everything:
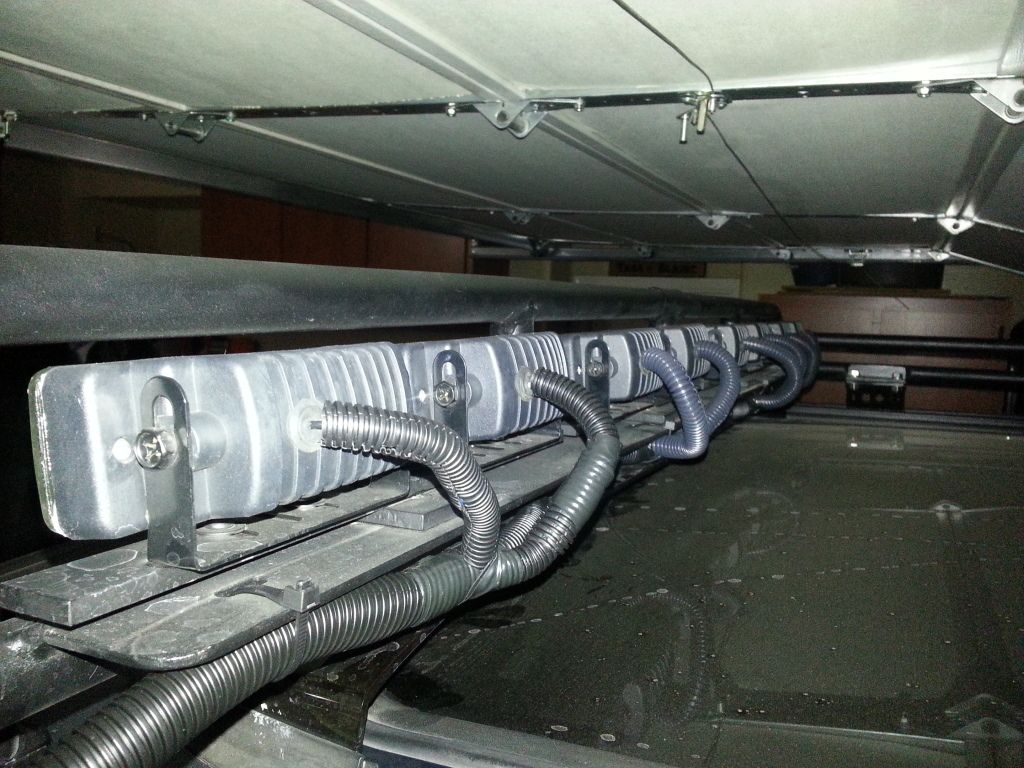


The wiring runs through the side marker trim down through the outside window trim, through the cowel cover down next to the side vents and into the engine compartment.

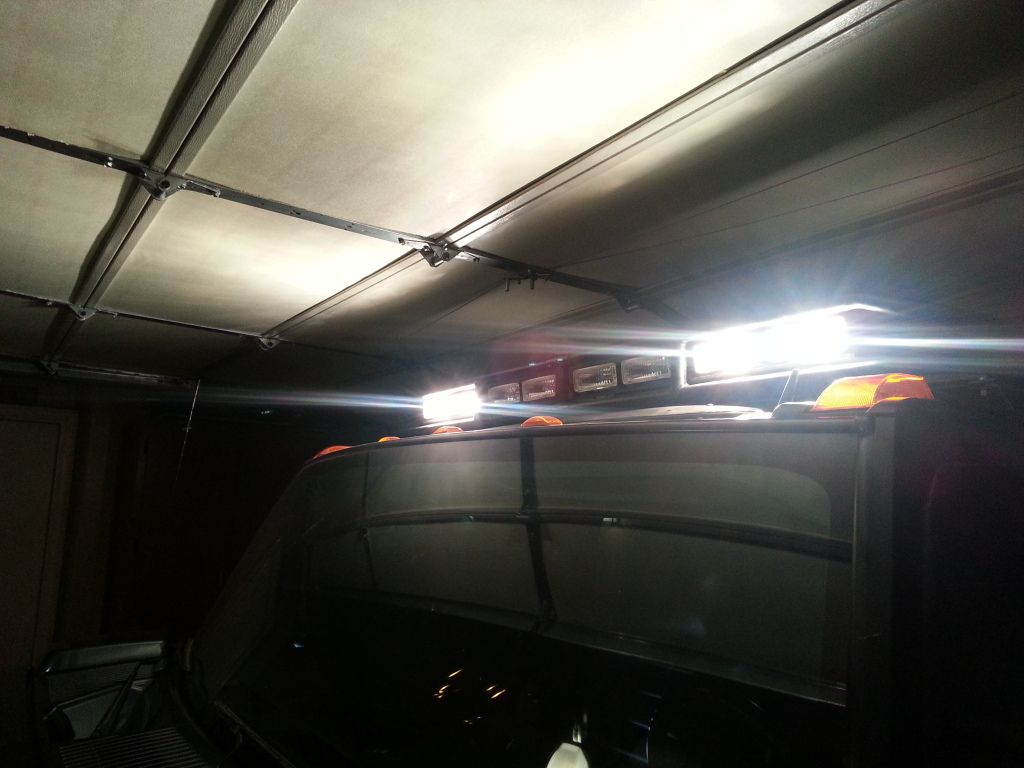
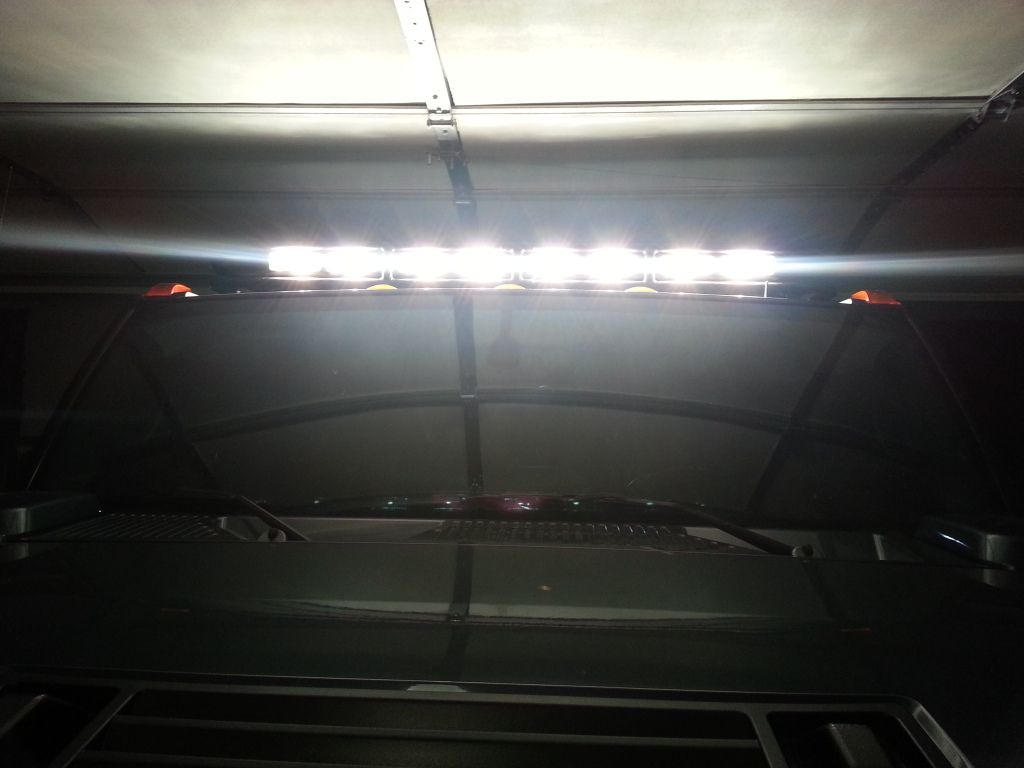
Center 4 lights on:


Outside 4 lights on:


Here is all 8 lights on:


And finally the rear lights:


I need to take it out somewhere very dark and see how these things light the road up. They seem very bright but we will see.
Reply With Quote
  #7  
Old 02-20-2013, 02:33 AM
fyr145's Avatar
fyr145 fyr145 is offline
Moderator
 
Join Date: May 2011
Location: Az
Posts: 237
fyr145 is on a distinguished road
Default Re: LoJac963's Deuce Build

THAT IS SO COOL !!!!!

How in the world am I EVER going to keep up????!!!

Now we definitely need to meet up for lunch someplace soon. We have the same color H2. Mines is more of the chrome direction. But I must say that the black really sets it off nicely !!!

Reply With Quote
Reply


Thread Tools Search this Thread
Search this Thread:

Advanced Search
Display Modes

Posting Rules
You may not post new threads
You may not post replies
You may not post attachments
You may not edit your posts

vB code is On
Smilies are On
[IMG] code is On
HTML code is Off
Forum Jump


All times are GMT +1. The time now is 02:35 PM.


Powered by vBulletin Version 3.0.7
Copyright ©2000 - 2024, Jelsoft Enterprises Ltd.