
|

#1
 02-12-2009, 10:30 PM
Hummer Veteran
Join Date: Nov 2008
Posts: 68

![]() 50watt HID Fogs for under $150 A ROUGH HOW TO GUIDE
50watt HID Fogs for under $150 A ROUGH HOW TO GUIDE
hopefully you guys appreciate this, i knew i'd more than likely get a ton of questions if i just posted finished pics of my mods so i took some pics along the way to hopefully answer all the questions I would have gotten anyway. If you still have any ask away

First let me say this isn't an exact how to. I didn't take a million pictures, but more than enough for you to fill in the blanks. If you have some mechanical knowledge, you can see what I did and if interested be able to duplicate pretty easily. It took me about 2 1/2 hours, so with this guide it should take anyone doing it much less.
I wanted functioning HID fogs to match my headlights without dropping a grand. I wanted them to be super bright so I went with a 50watt HID setup, as opposed to a 35w. I should note that the fogs I ordered are probably about 3/4 in smaller in diameter than the stockers, but as you'll see in the pics and in my honest opinion they look just as good as the stockers and definately look like they "belong"
First, here is what I ordered off of ebay
http://cgi.ebay.com/ebaymotors/ws/eB...3AIT&viewitem=
and
http://cgi.ebay.com/ebaymotors/ws/eB...3AIT&viewitem=
With the exception of some stainless screws and nuts you'll have everything you need here to install. First, to simplify everything and not have to run a seperate switch to the cabin to activate the fogs I decided to have them switch on and off using the power wire from one of the stock driving lights. Meaning they will be on all day, and with the jumper in the fuse box be on at night with the headlights as well. (i'll get into that and how later)
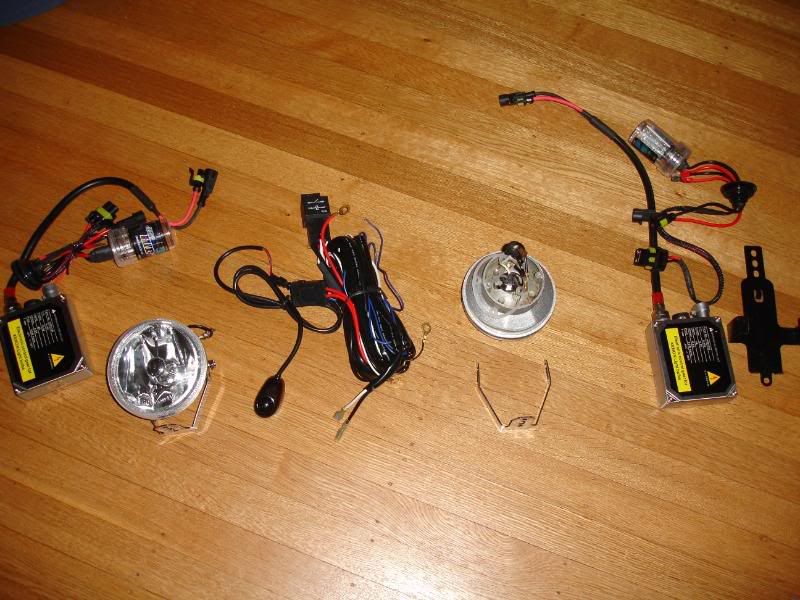
here is everything pulled out of the boxes. One wiring harness, two fogs, two ballasts and two HID bulbs. Look at the chrome V shaped mounting brackets for the fogs, we will be modifying those later.
Last edited by hotstang46` : 02-12-2009 at 11:29 PM.

#2
02-12-2009, 10:35 PM
Hummer Veteran
Join Date: Nov 2008
Posts: 68
![]() Re: 50watt HID Fogs for under $150 A ROUGH HOW TO GUIDE
Re: 50watt HID Fogs for under $150 A ROUGH HOW TO GUIDE
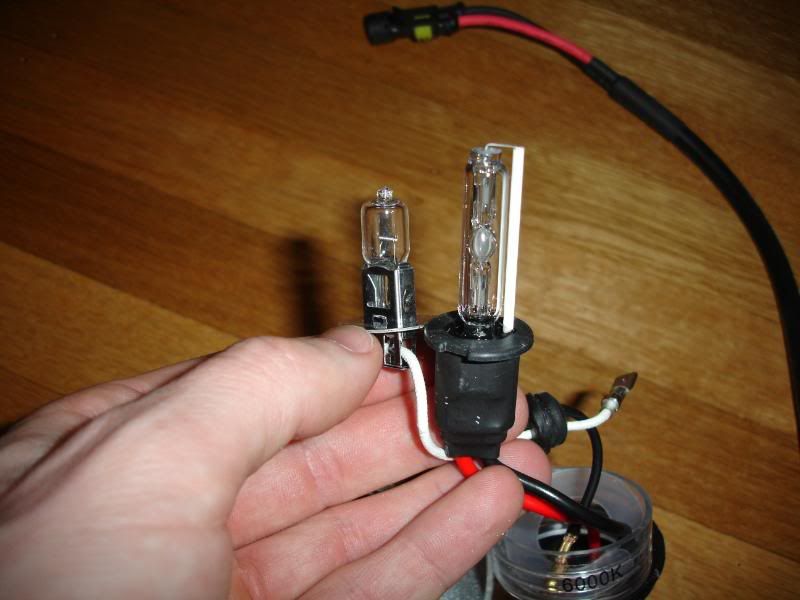
Notice the Stock bulb that came in the new fogs is alot shorter than the HID's we will be using....
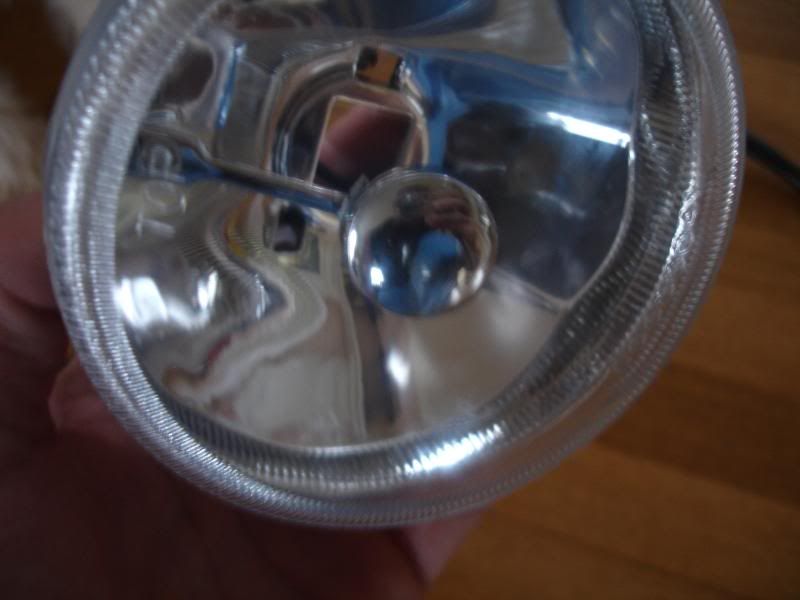
Notice the round piece inside the inside of the fog. Take a screw drive and throughl the hole in the back slightly apply pressure to move it forward to accomodate the HID. Make sure the HID does not rest against it, there is more than enough room.
#3
02-12-2009, 10:38 PM
Hummer Veteran
Join Date: Nov 2008
Posts: 68
![]() Re: 50watt HID Fogs for under $150 A ROUGH HOW TO GUIDE
Re: 50watt HID Fogs for under $150 A ROUGH HOW TO GUIDE
Next, notice there are four wires going through the rubber grommet on the HID's.
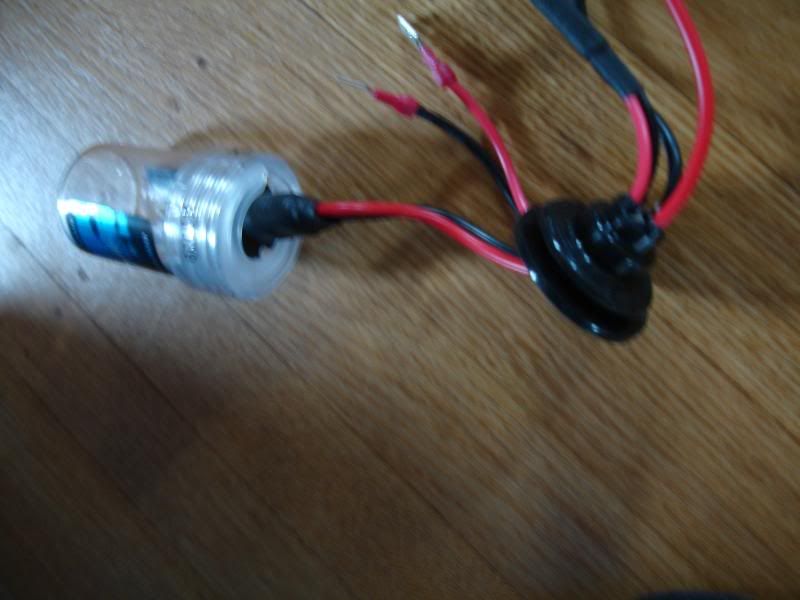
Cut the two "power wires" as seen in the pics and remove them from the rubber grommet. Once removed, Dab some silicone sealant in the open holes to seal them off from moisture.
#4
02-12-2009, 10:43 PM
Hummer Veteran
Join Date: Nov 2008
Posts: 68
![]() Re: 50watt HID Fogs for under $150 A ROUGH HOW TO GUIDE
Re: 50watt HID Fogs for under $150 A ROUGH HOW TO GUIDE
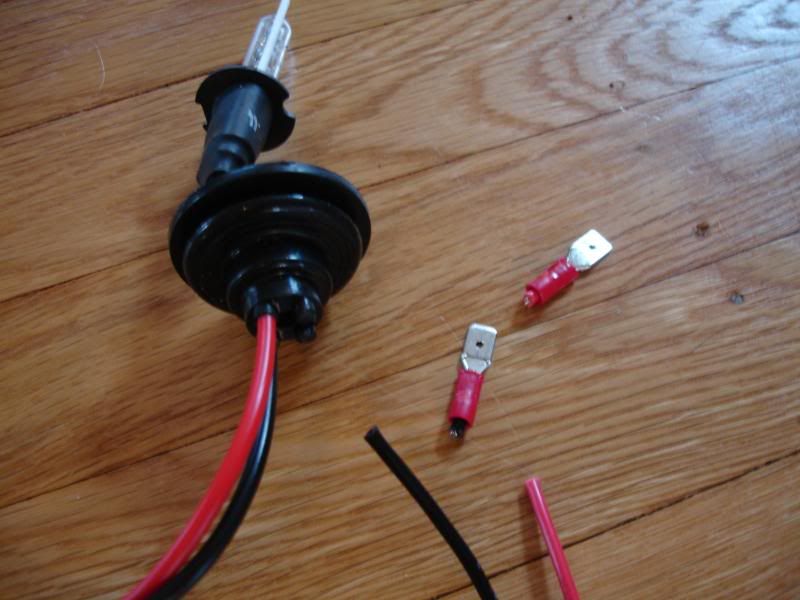
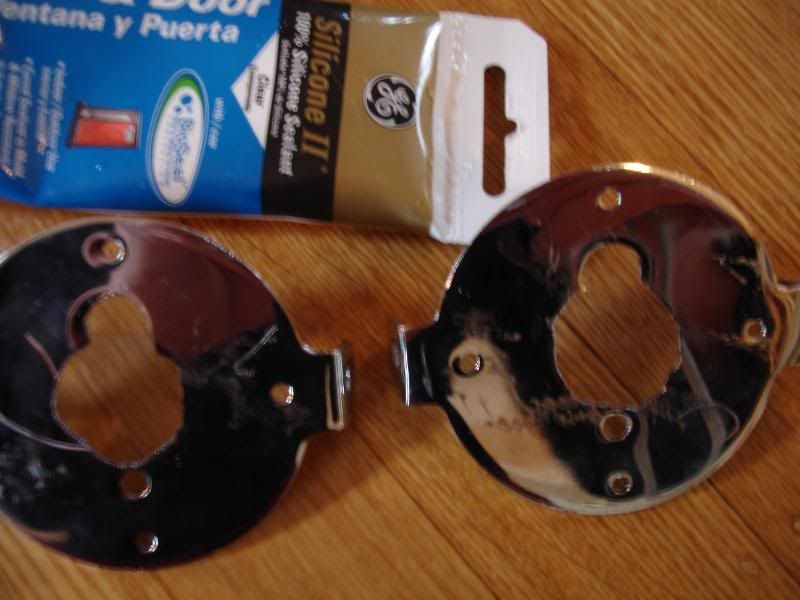
Now again refer to this picture and notice the back of the bulb on the new HID is alot longer than the stock bulb.
It will not fit in the new fog as it sits. So you need to cut a hole in the backplate of the fog the size of gromet that you see in the picture so that there's room for it protrude through.
I used a quarter and drew a circle on the backplates.......
I used a dremel to grind them out, it was a router style bit for metal, you can find them at any home depot. Don't worry about making the cut pretty and perfect, it's not needed.
#5
02-12-2009, 10:46 PM
Hummer Veteran
Join Date: Nov 2008
Posts: 68
![]() Re: 50watt HID Fogs for under $150 A ROUGH HOW TO GUIDE
Re: 50watt HID Fogs for under $150 A ROUGH HOW TO GUIDE
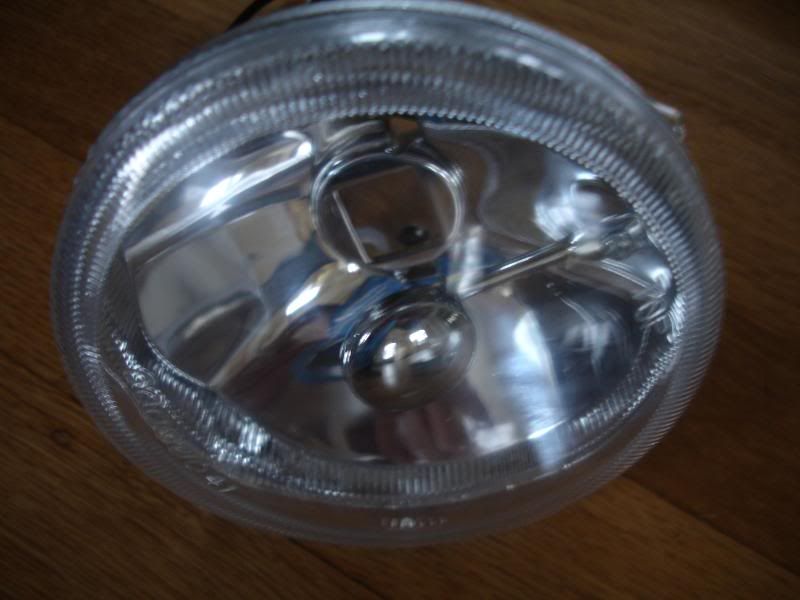
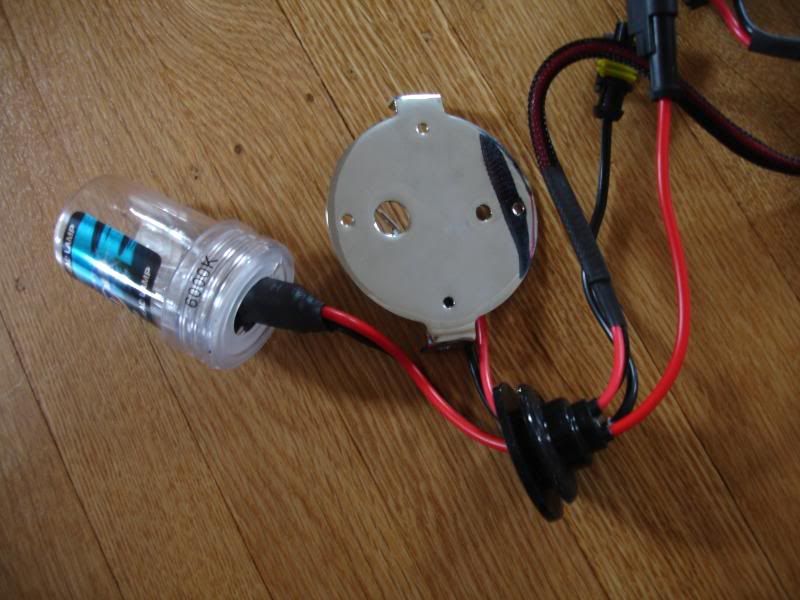
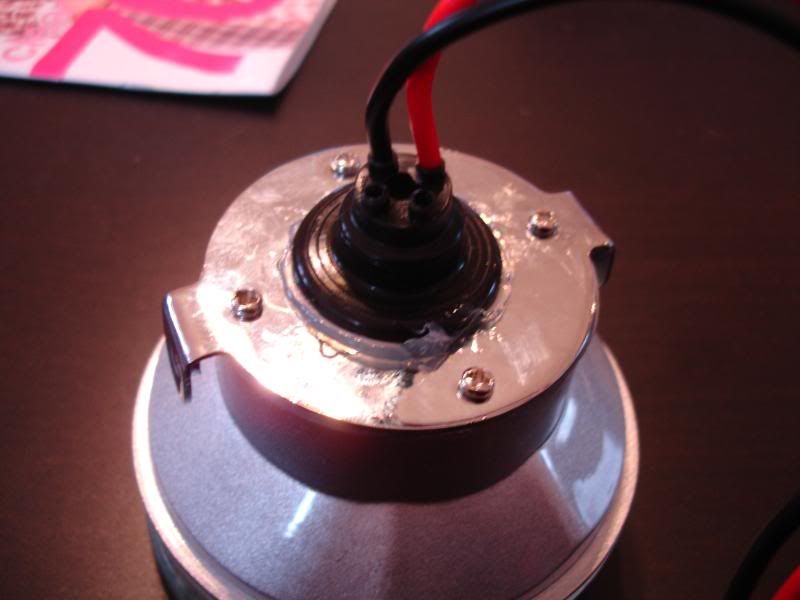
install the grommet in the opening and run some silicone sealant around the outside of the grommet to seal it up real well. Install the bulb in the fog and bolt the backplate back on.
#6
02-12-2009, 10:51 PM
Hummer Veteran
Join Date: Nov 2008
Posts: 68
![]() Re: 50watt HID Fogs for under $150 A ROUGH HOW TO GUIDE
Re: 50watt HID Fogs for under $150 A ROUGH HOW TO GUIDE
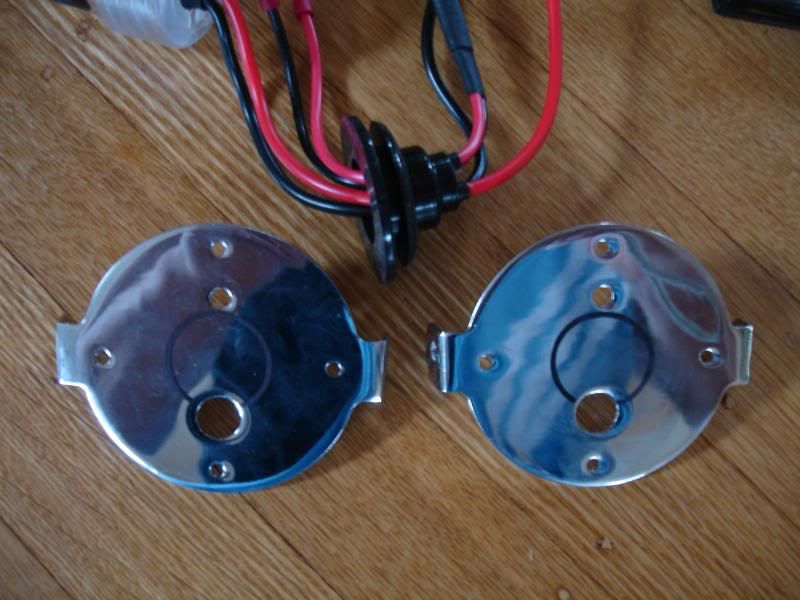
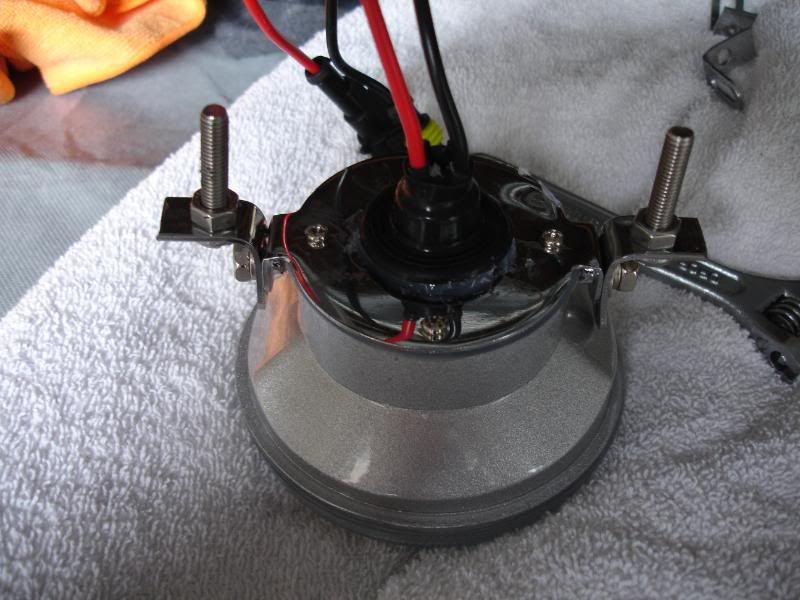
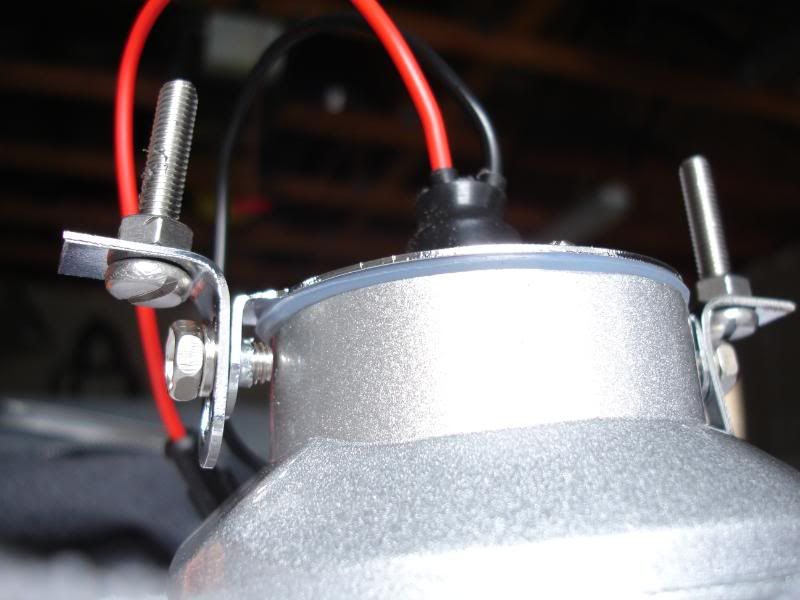
Next refer again to this picture and look at the V shaped mounts the fogs came with.
Cut them with a dremel and form a 90 degree bend. You will need to drill a hole in them for the mounting screws that will be holding them to the body of the truck. Take out the stock DRLS and you will see the two holes that the stock bolts ran through, measure the distance apart on those bolts, and with your newly made, undrilled tabs mark them at that distance when they are mounted on the fogs so you know where to Drill the holes. The holes that hold the brackets to the fog will already be there. wish i took a better pic but the holes that you see the screws that hold the bracket onto the foglight are slotted. they are like this as they are sent. this again is great because you can aim them when on the truck by loosening those screws and pulling one way or antother. when mounted on the truck you will be able to aim the fog up down left or right very easily to get the light where you want it.
Last edited by hotstang46` : 02-12-2009 at 11:17 PM.

«
Previous Thread
|
Next Thread
»
Thread Tools
Search this Thread
Display Modes
 Posting Rules
All times are GMT +1. The time now is 05:33 PM.


 Hybrid Mode