 |
|


06-17-2013, 12:39 PM
|
 |
Hummer Expert
|
|
Join Date: Sep 2011
Location: Surprise, AZ
Posts: 717
|
|
 Re: LoJac963's Deuce Build
Quote:
|
Originally Posted by H2Much
LED's look great! Wish I was in the area as I would pay you to help me do mine. I don't have people like that in my area that would do mods like that so I am either doing it myself and figuring it out on my own or it's just not happening. Let me know if you are ever in the UT are for a week or so... Lol!
|
Too funny I was born in Monticello, UT and used to go back every summer. We still takes trips up there all the time but I don't have anything currently planned. |
06-25-2013, 10:02 PM
|
|
Hummer Expert
|
|
Join Date: Sep 2011
Location: Surprise, AZ
Posts: 717
|
|
Re: LoJac963's Deuce Build
Next update:
Plasti Dip is officially completely gone!!!
I took all the wheels and had them rebalanced to get the weights off the outside. Glad I did as they were completely out of balance, I can definitely feel a difference on the highways.
I pulled all the Plasti Dip off, scuffed all the chrome, primered and painted then with Dupli Color Low Gloss Black Engine Enamel. They turned out great.
I also added black extended lugs to cover the studs to finish everything off. Onto the pics!

More to come! |
06-27-2013, 05:29 AM
|
|
Hummer Veteran
|
|
Join Date: Oct 2007
Location: Arizona
Posts: 55
|
|
Re: LoJac963's Deuce Build
Looks great! Love the blue/black combo.
|
06-27-2013, 03:55 PM
|
 |
Moderator
|
|
Join Date: May 2011
Location: Az
Posts: 237
|
|
Re: LoJac963's Deuce Build
Back in the day when we were all kids, LoJac963 was one of those kids on the block that got all the COOL stuff we all wish we had.
Yeah, mom always liked HIM better............  |
06-28-2013, 12:38 AM
|
|
Hummer Expert
|
|
Join Date: Sep 2011
Location: Surprise, AZ
Posts: 717
|
|
Re: LoJac963's Deuce Build
lol!
|
06-29-2013, 12:58 AM
|
 |
Hummer Veteran
|
|
Join Date: Jan 2011
Posts: 110
|
|
Re: LoJac963's Deuce Build
Quote:
|
Originally Posted by LoJac963
Next update:
Plasti Dip is officially completely gone!!!
I took all the wheels and had them rebalanced to get the weights off the outside. Glad I did as they were completely out of balance, I can definitely feel a difference on the highways.
I pulled all the Plasti Dip off, scuffed all the chrome, primered and painted then with Dupli Color Low Gloss Black Engine Enamel. They turned out great.
I also added black extended lugs to cover the studs to finish everything off. Onto the pics!
More to come! |
Looks good, why did you decide to switch from plastidip to the engine enamel?
Also, any special techniques for spraying it vs plastidip? Plastidip goes on so easy and works well, how did the Dupli Color Low Gloss Black Engine Enamel treat you?
Which primer did you use?
__________________
Yellow 04' H2
Last edited by accely : 06-29-2013 at 01:04 AM.
|
07-02-2013, 10:08 AM
|
|
Hummer Expert
|
|
Join Date: Sep 2011
Location: Surprise, AZ
Posts: 717
|
|
Re: LoJac963's Deuce Build
Sorry accely I didn't realize there was a new post here.
I had multiple issues with the Plasti Dip. I didn't prep my wheels before spraying it because I wasn't sure how I would like the black. Needless to say after the first auto carwash 3 of the wheels started peeling around the outer perimeter.
I cut out the peeled sections and resprayed those portions, it never looked as good. Then eventually with the sun it started to turn gray around the edges.
My turning point was when I decided I wanted to take the center caps off for good and find nice looking lugs. After wirebrushing the hell out of the center of the hubs to spray them with the low gloss black I decided that's what I was going to do with the rims also.
As far as prep I just took a red 3m pad to all the chrome and textured surfaces to scuff them up a little. Just enough to get them a little matte. Actually when I decided to do this all the auto stores were closed so I ran to wal mart and picked up some Rust-Oleum automotive primer. Their spray tip sprays a ton of paint.
One can easily covered all 4 wheels. After that dried I sprayed 2 good coats of the Dupli-Color Low Gloss Black. I just sprayed in sections with an overlapping wet coat. Let them dry for about an hour then threw them back on the rig since it was sitting on 4 jackstands.
Let me know if you have any other questions!

|
07-02-2013, 01:18 PM
|
 |
Hummer Authority
|
|
Join Date: Jan 2008
Location: Gaithersburg, MD
Posts: 1,763
|
|
Re: LoJac963's Deuce Build
Turned out real nice! 
__________________
CNTRY
DTOM
|
07-03-2013, 02:41 AM
|
|
Hummer Expert
|
|
Join Date: Sep 2011
Location: Surprise, AZ
Posts: 717
|
|
Re: LoJac963's Deuce Build
thank you sir |
09-09-2013, 11:20 PM
|
|
Hummer Expert
|
|
Join Date: Sep 2011
Location: Surprise, AZ
Posts: 717
|
|
Re: LoJac963's Deuce Build
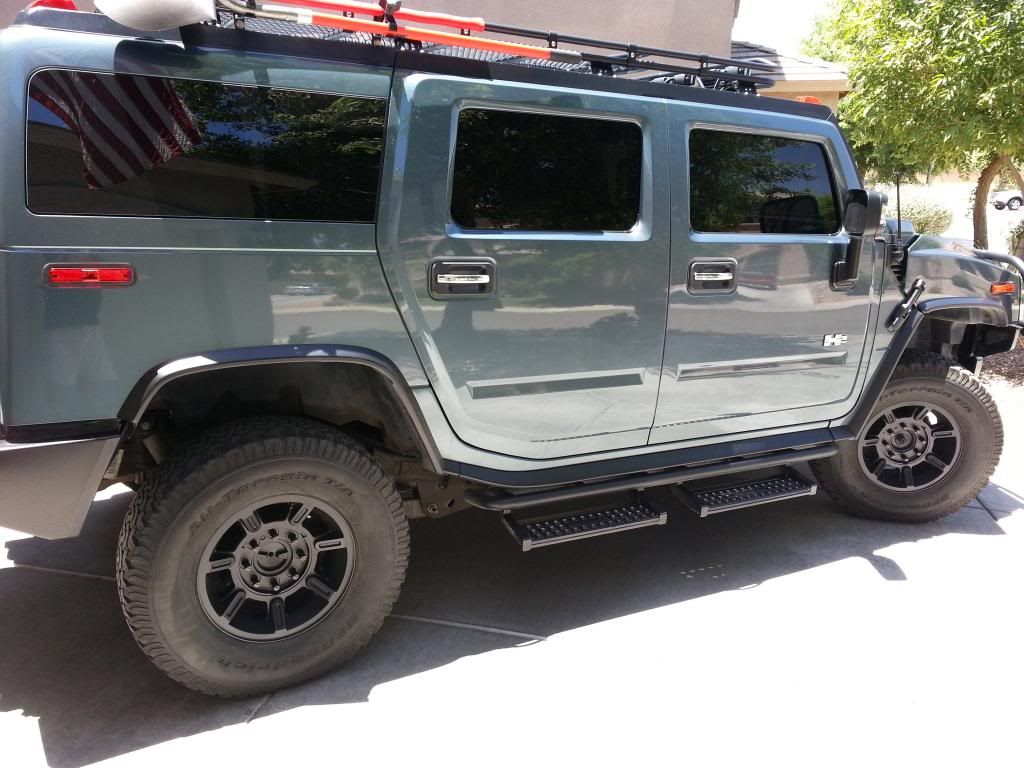
Finally got my trailing arms installed last night. These are from 3C FAB and were drastically cheaper than Hotchis and Edelbrock so I thought I'd give them a shot. They have zerks to grease them and have Energy Suspension polyurethane bushings.
Here was the first issue:
Apparently in 2006 the bolts went 2mm larger so the bushing sleeves I had were too small. I contacted the seller who promptly called Energy Suspension and had 4 larger bushing sleeves sent to me. I pushed out the old sleeves and put the larger sleeves in and problem solved.
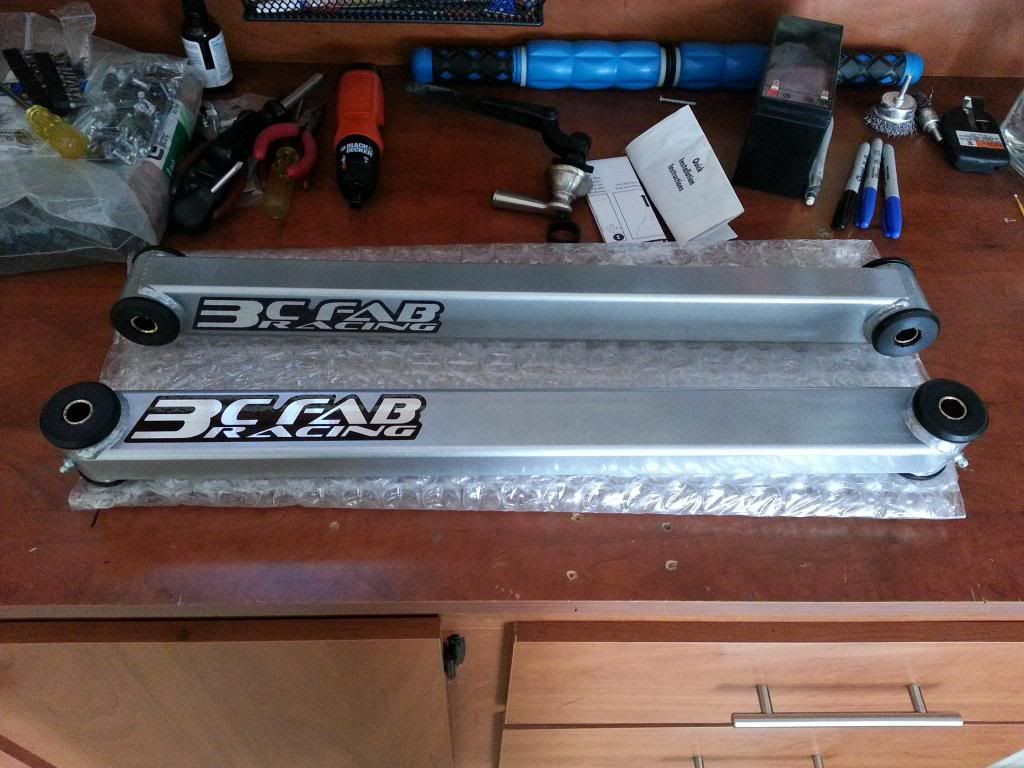
Here's a pic of the new arms:
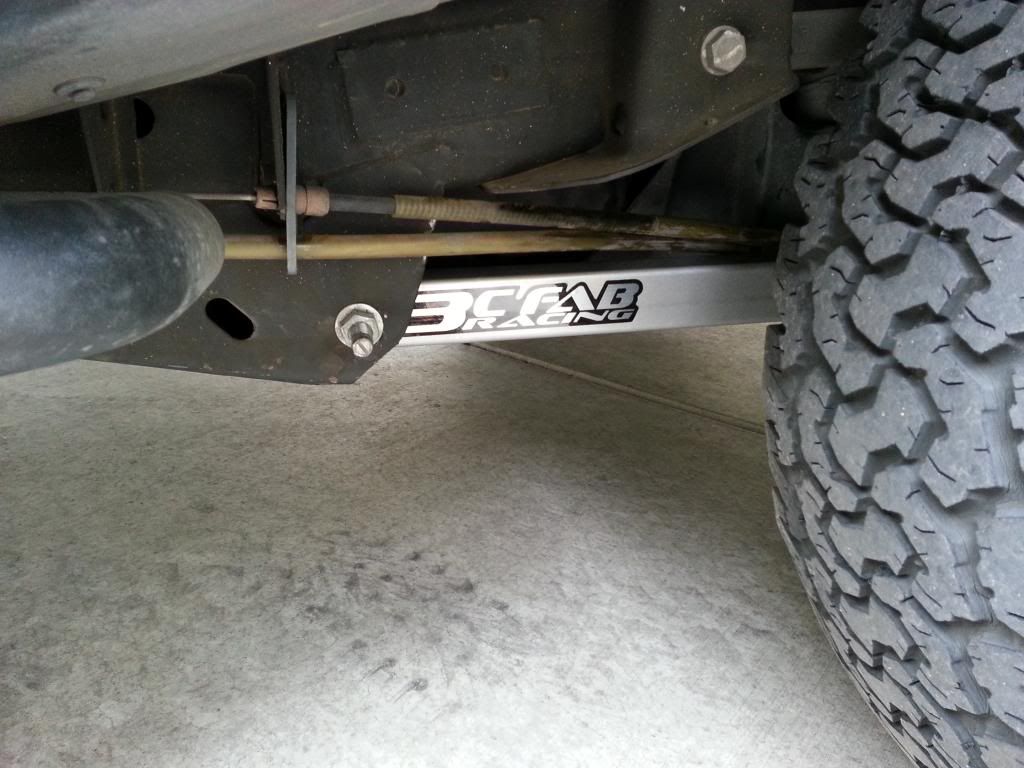
Now install instructions from one of the other forums tech section couldn't have been further from the truth. Passenger side goes in very quickly but the driver side had me covered in oil and dirt not to mention the amount of swearing that went on for over an hour.
Basically in order to get the front bolt out you have to completely drop the gas tank not just the skid plate for the tank-that added significant time onto the install. However once the gas tank is out of the way and a couple other brackets are removed I finally had the new arm installed.
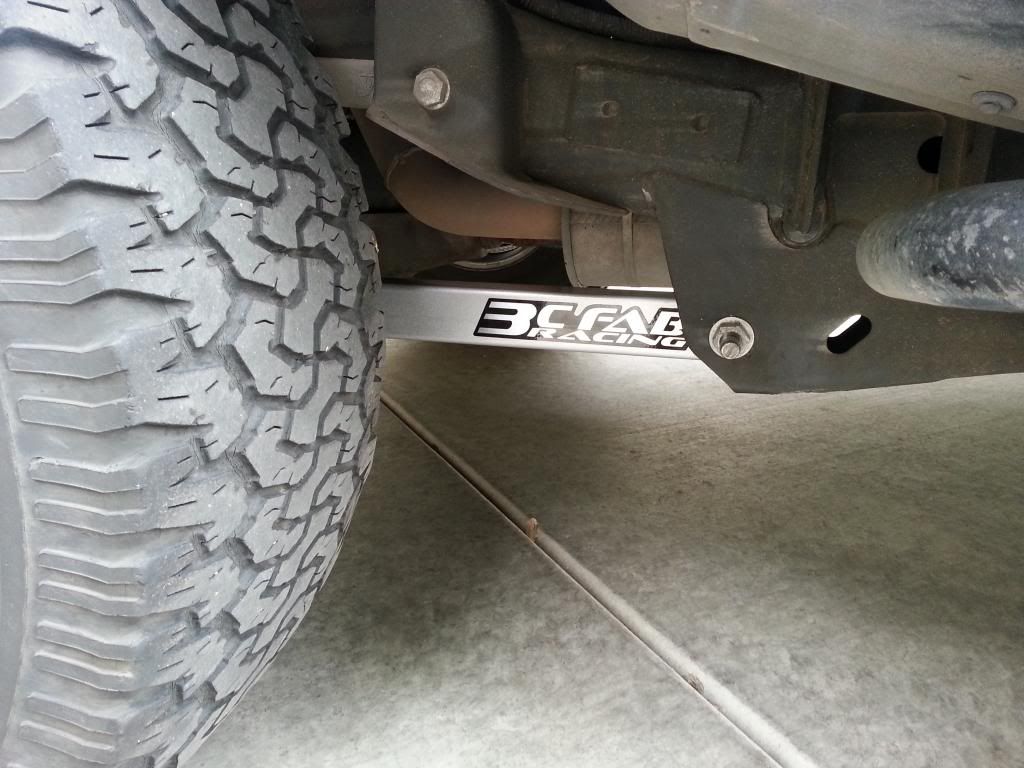
Driver side pic:
Passenger side pic:
I went with the Super Silver II powdercoat. I wanted something to stand out a bit but not screaming loud like red for instance. They match my Purple Cranium diff protector pretty close.
I've read new arms will decrease the rattle and hopping of the rear tires when going over bumps so today I nailed a speed bump and I kid you not the rear tires went over the bump and that was the end of it. No rattling the interior or bouncing in the rear. Definitely worth the money!!
|
10-03-2013, 12:08 AM
|
|
Hummer Expert
|
|
Join Date: Sep 2011
Location: Surprise, AZ
Posts: 717
|
|
Re: LoJac963's Deuce Build
Finally pulled the trigger on the E&G Offroad Flares. Little bit of a pain to install but finally got them on and they look hands down awesome. These rigs should have come with flares like these from the factory!
Pics...


I've got another project in the works I'm hoping to wrap up soon so more pics to come! |
10-15-2013, 12:13 AM
|
|
Hummer Expert
|
|
Join Date: Sep 2011
Location: Surprise, AZ
Posts: 717
|
|
Re: LoJac963's Deuce Build
Latest update although a small one....
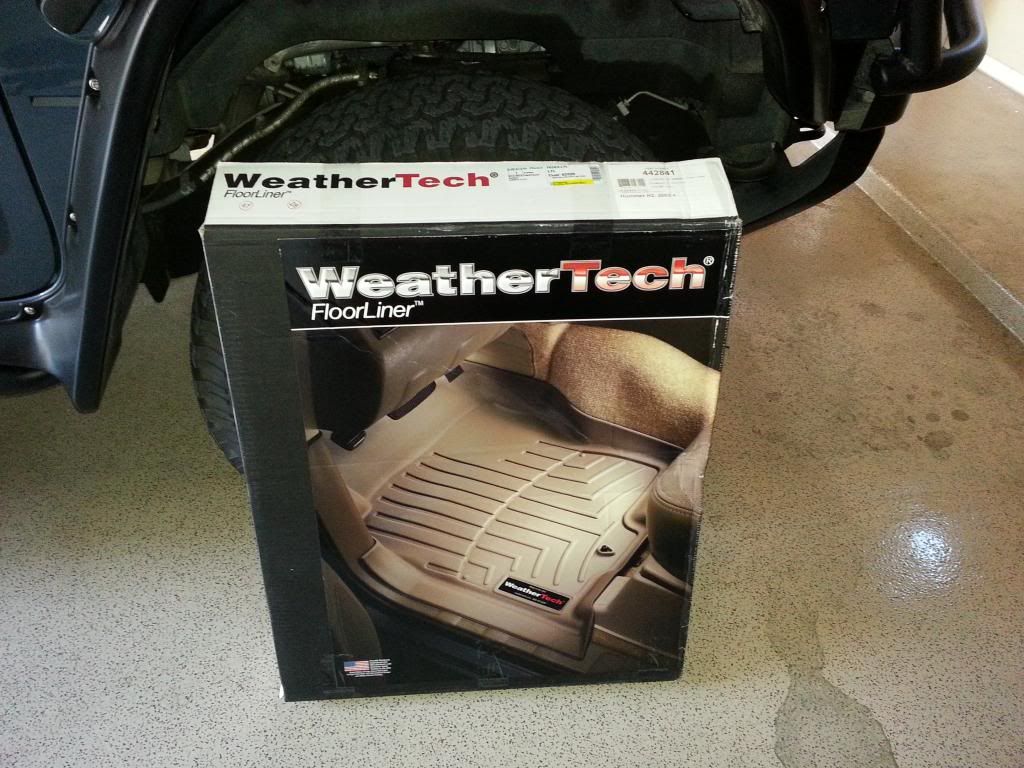
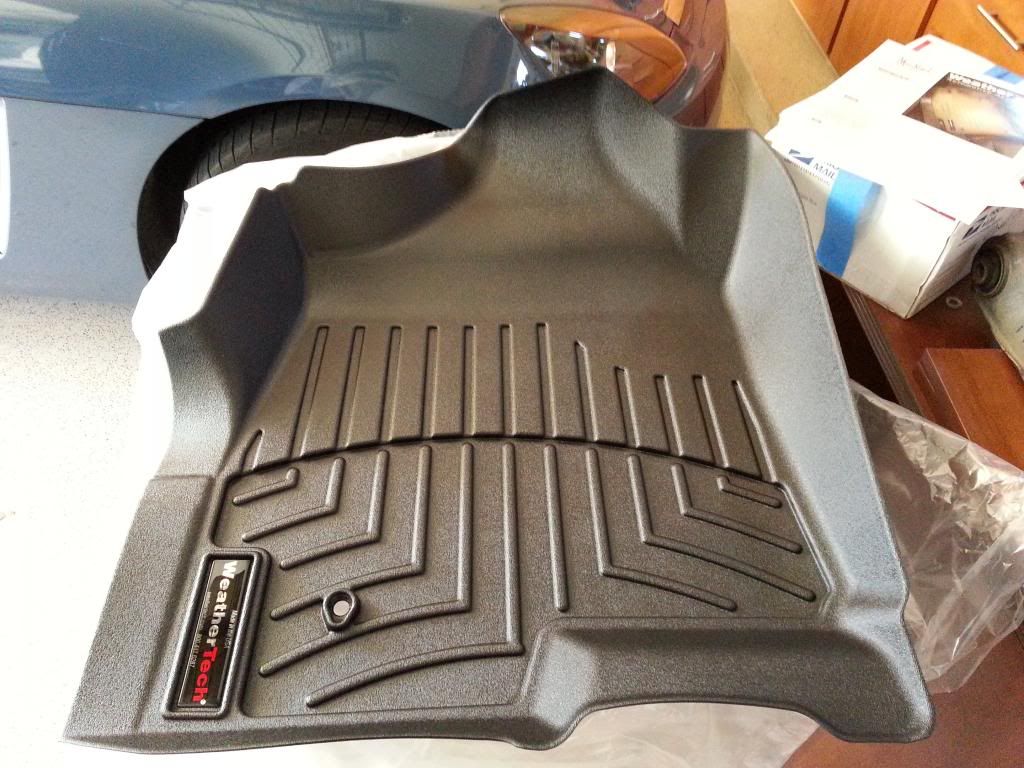
Finally bought some Weathertech Digitalfit floor mats. I've always wanted a set so they're in after a good vacuuming.
Driver Side:
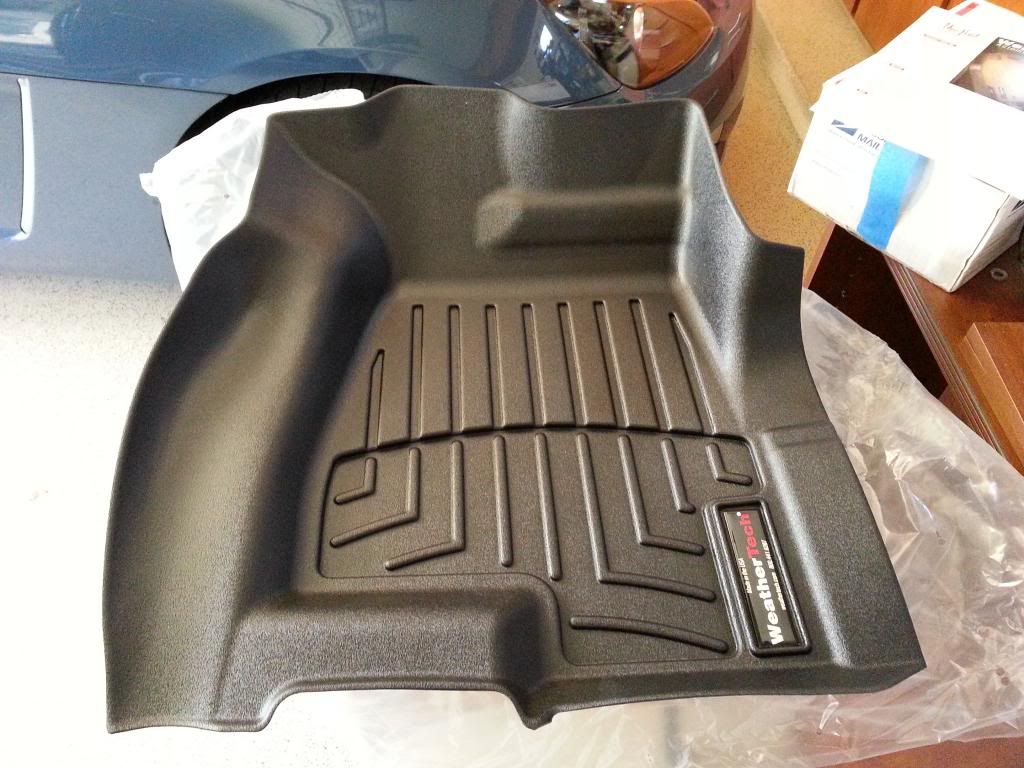
Passenger Side:
Driver Side installed:
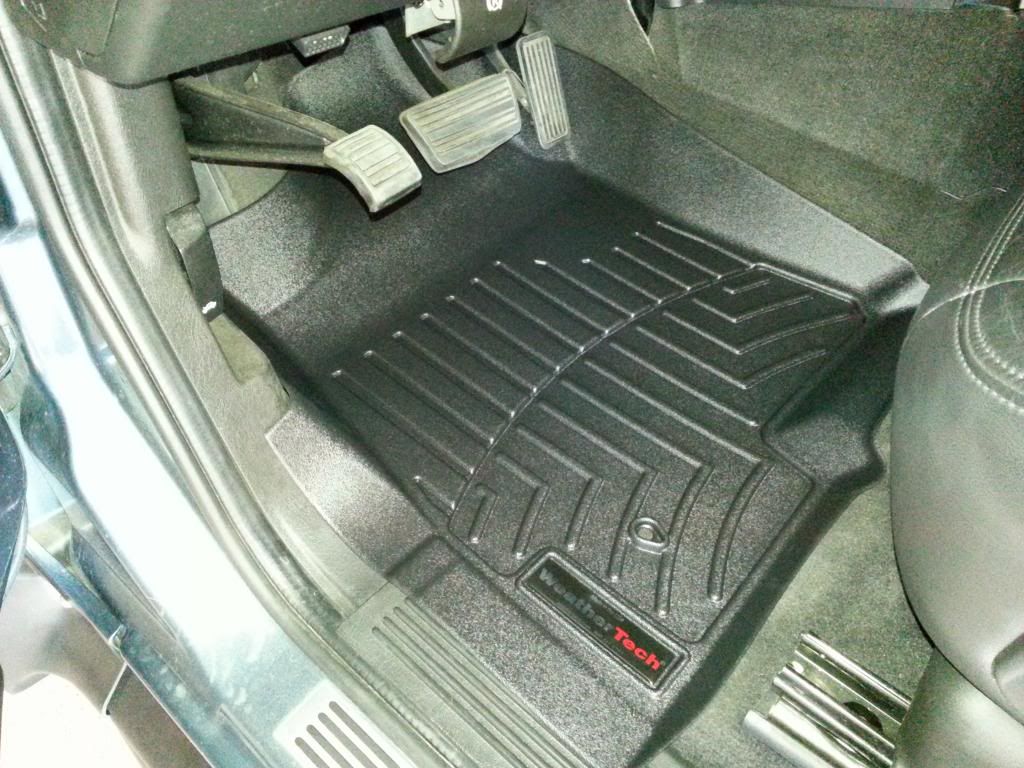
They are very rigid and stay in place nicely. My current ongoing project with some switches has hit a snag but I'll post that up once I'm finished with it! |
10-15-2013, 12:37 AM
|
|
Moderator
|
|
Join Date: May 2011
Location: Az
Posts: 237
|
|
Re: LoJac963's Deuce Build
(picture fyr145 sitting in chair at a table at his house late one night writing to Santa Claus by candlelight.............)
Dear Santa,
How is the North Pole?? I have been very good this year. Since I have been so good this year, I wanted to ask that you fill up your sleigh with some cool upgrades for my H2 as well. You see, I have this fellow H2 owner named LoJac963. He lives in the same valley that I do and he has many cool aftermarket items on his H2. Mom always liked LoJac963 better than me thus he always gets the cool upgrades before I do. I am hoping that you Santa can help me with my mods & upgrades this year and just place them under the tree and I will take care of the rest. Have a safe trip and tell Rudolph hello for me too.
Thanks Santa,
Fyr145
|
10-15-2013, 11:38 AM
|
|
Hummer Expert
|
|
Join Date: Sep 2011
Location: Surprise, AZ
Posts: 717
|
|
Re: LoJac963's Deuce Build
Quote:
|
Originally Posted by fyr145
(picture fyr145 sitting in chair at a table at his house late one night writing to Santa Claus by candlelight.............)
Dear Santa,
How is the North Pole?? I have been very good this year. Since I have been so good this year, I wanted to ask that you fill up your sleigh with some cool upgrades for my H2 as well. You see, I have this fellow H2 owner named LoJac963. He lives in the same valley that I do and he has many cool aftermarket items on his H2. Mom always liked LoJac963 better than me thus he always gets the cool upgrades before I do. I am hoping that you Santa can help me with my mods & upgrades this year and just place them under the tree and I will take care of the rest. Have a safe trip and tell Rudolph hello for me too.
Thanks Santa,
Fyr145
|
LOL you're crazy, where you been man? We still need to meet up sometime! |
10-15-2013, 03:20 PM
|
|
Moderator
|
|
Join Date: May 2011
Location: Az
Posts: 237
|
|
Re: LoJac963's Deuce Build
I'm still around, just working away and lurking on all the H2 sites and helping where I can.
I've been waiting for you to set up a time, day, and place to meet up so we can compare H2's. Maybe over some lunch with some other H2'ers. I still have that H2 kit if you're still interested.
|
10-16-2013, 02:19 AM
|
|
Hummer Expert
|
|
Join Date: Sep 2011
Location: Surprise, AZ
Posts: 717
|
|
Re: LoJac963's Deuce Build
Most definitely I'll take it off your hands.
I'm heading back to school at the beginning of November.....ugh so hopefully there's some time possibly before that between work and family.
|
11-20-2013, 11:37 PM
|
|
Hummer Expert
|
|
Join Date: Sep 2011
Location: Surprise, AZ
Posts: 717
|
|
Re: LoJac963's Deuce Build
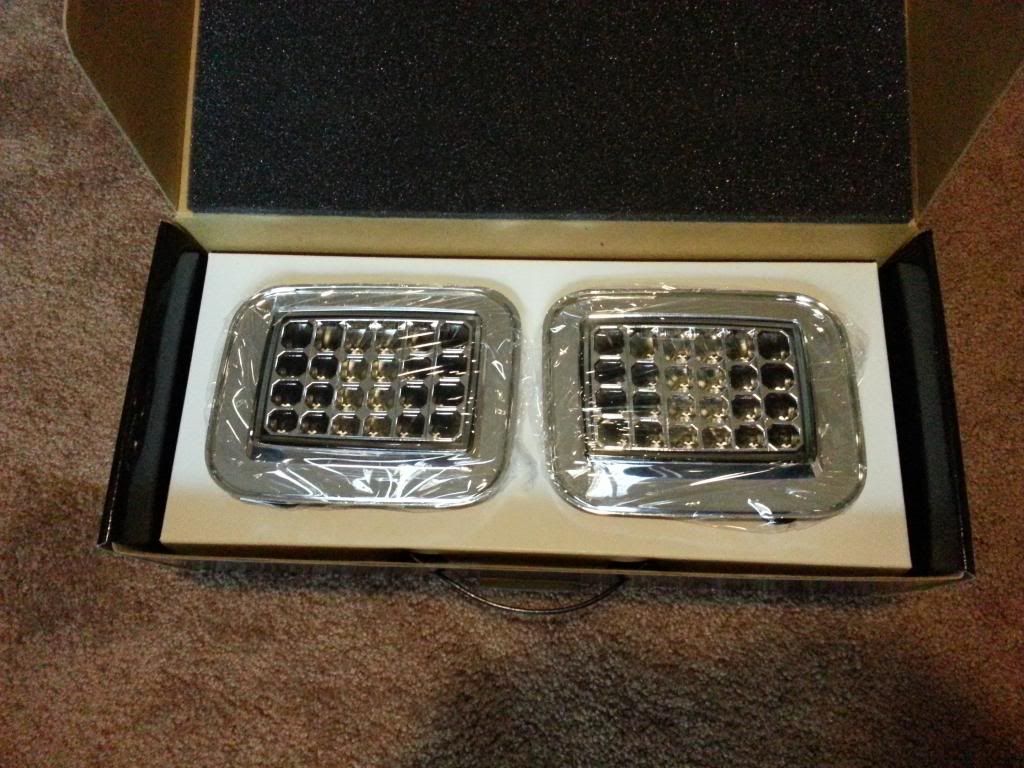
Here's the latest. I met FYR and installed some LED's in his DRL's. He was showing me around his rig and he had the IPCW clear corner LED's. I've never like clear lens anything but the way these blend into the chrome grill really make them look great. Not to mention how bright they are. Got back home from his place and put my order in.
They arrived yesterday. I thought they just popped in from the back but I ended up having to remove my brushguard and grill but it was well worth it. Enough talking, onto the pics!
Boxed:
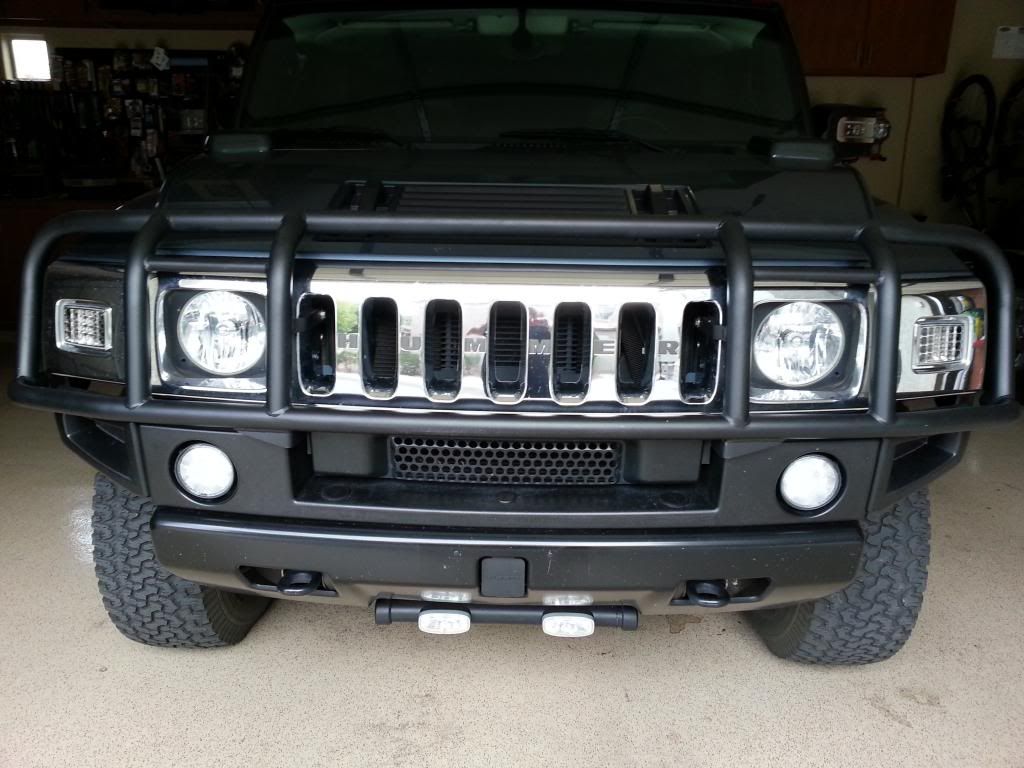
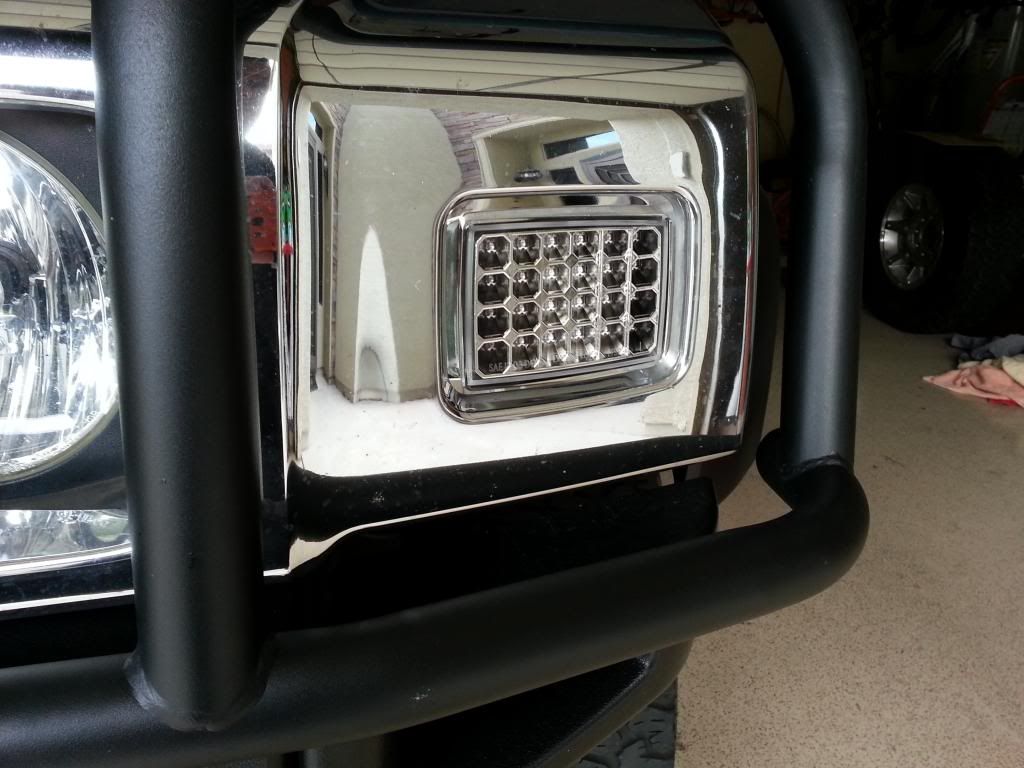
Installed:
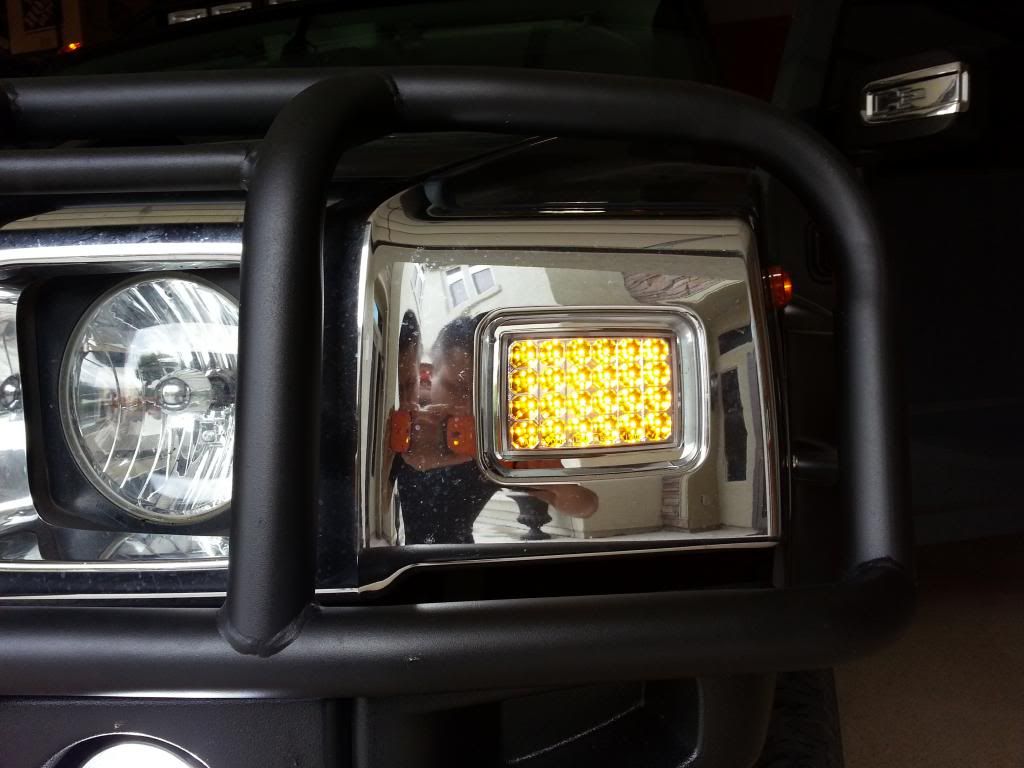
Parking lights on, they are much brighter when the blinker is on and look hands down awesome at night!
Now maybe I can get some of my other pending projects done...... |
11-22-2013, 04:39 PM
|
|
Moderator
|
|
Join Date: May 2011
Location: Az
Posts: 237
|
|
Re: LoJac963's Deuce Build
Looks awesome bro !!!!!
I was surprised that you had to take your brush guard off. I didn't have to remove any of my stuff at all. Interesting.
Its still a very nice mod.  |
11-23-2013, 12:34 AM
|
|
Hummer Expert
|
|
Join Date: Sep 2011
Location: Surprise, AZ
Posts: 717
|
|
Re: LoJac963's Deuce Build
Thanks!
Stupid me thought they just fit in from inside the hood. Until I opened it up and realized they were sandwiched between the hood and grill. My brushguard didn't have enough room to pull the grill forward enough to get the corners out.
|
11-26-2013, 02:18 AM
|
 |
Hummer Messiah
|
|
Join Date: Nov 2002
Location: PDX
Posts: 2,367,817
|
|
Re: LoJac963's Deuce Build
Nice work on the LEDs. The blue and white will be very fatiguing on your eyes especially if you can't dim them down enough. Red is the way to go.
Do you have a link to the LED source?
Also, just wait until you smack that lower front light bar or catch the tab on the rear diff cover. |
| Thread Tools |
Search this Thread |
|
|
|
| Display Modes |
 Linear Mode Linear Mode
|
 Posting Rules
|
You may not post new threads
You may not post replies
You may not post attachments
You may not edit your posts
HTML code is Off
|
|
|
All times are GMT +1. The time now is 06:57 AM.
|


